D'Erlon's Attack


After the delay of deploying his army and waiting for the ground to dry, Napoleon proceeded with his plan - a diversionary attack on Hougomont on his left followed by an attack on his right by D'Erlon's I Corps.  To prepare for the attack, Napoleon assembled a grand battery of around 80 guns to bombard the Allied left.  At around 1:30 pm, the attack began.  Around 10,000 French were attacking  4,000 Allied troops under Lt Gen Sir Thomas Picton.  French skirmishers alone numbered around 2,500.      


The infantry of D'Erlon's I Corps began the attack from the area around this dirt road.  The French Grand Battery was further forward on a slight ridge south of La Haye Sainte.  Plancenoit to the rear would be the scene of bitter fighting late in the day as the Prussians arrived.


Bijlandt's Right
The road, then dirt, had hedges on both sides.  On the right half of the panorama, at the modern buildings, this road intersects with the road to Brussels.  It was near the intersection that a elm tree stood.  After observing the fight at Hougomont, Wellington rode to the tree in response to  the French bombardment.  Between this intersection and where the photo was taken, a battalion of the 95th stood.  To their front, beyond the woods not there during the war, was a piece of higher ground with a hedgerow followed by a sandpit, then the strong point at La Haye Sainte.

Between the point where the photo was taken and the circa 1929 Fichermont Convent stood a five battalion brigade of Dutch-Belgians under Bijlandt behind the road and hedges.  Bijlandt's brigade contained a large percentage of militia, and it was directly exposed to the fire of Napoleon's grand battery.  Much of the rest of Wellington's men, however, were on the reverse slope, threatened mainly by howitzers.  These men were in battalion columns about 100 yards behind the road, on the far left and far right of the panorama - two brigades of British infantry.  Kempt's brigade of three battalions stretched from the Brussels road to just behind the right flank of Bijlandt.  Starting near the modern convent and stretching in this direction was the four battalion brigade of Pack.  A gap between these two brigades did exist, extending for about half the length of Bijlandt's line.  Near the modern convent were Best's Hanoverians with a battalion of Nassau troops to their front.  About 300 yards behind the Bijlandt's brigade was the cavalry of the Union Brigade.  

D'Erlon's attacking I Corps was composed of four infantry divisions supported by cavalry on the the west side of the Brussels road.  Standard French tactics during the Napoleonic Wars involved each battalion forming a column to advance, then deploying into line close to the enemy.  Perhaps because of Wellington's success against these tactics in Spain - attacking the columns as they deployed, D'Erlon investigated other options.  Most histories state the D'Erlon had each of his four divisions form a large column with one battalion in line followed by the others.  A division, therefore, was about 150 to 180 men wide and 24 ranks deep.  In "The Battle", Allesandro Barbero states otherwise, that the French attacked in brigade sized columns and that Lobau's VI Corps moved to support D'Erlon only to find Prussians on the flank.

Bijlandt's brigade fired on the approaching French columns, but then many of the men began to fall back on their own accord.  Then, Picton brought his British battalions forward to the line.  He was soon shot through the head and killed.  His monument is on the right of the panorama to the left of the road and a hay bale.  The British and French troops volleyed at each other across the road and hedges.
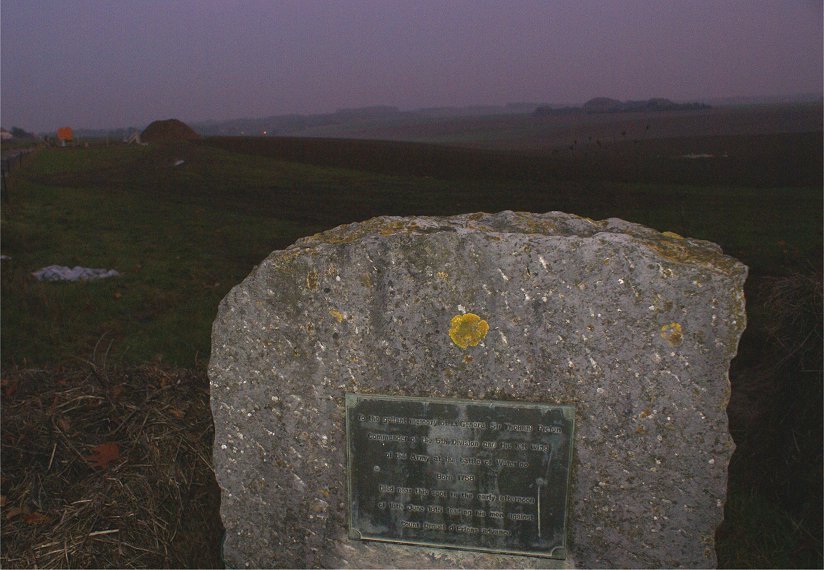

Where Picton Was Killed


Bijlandt's Left
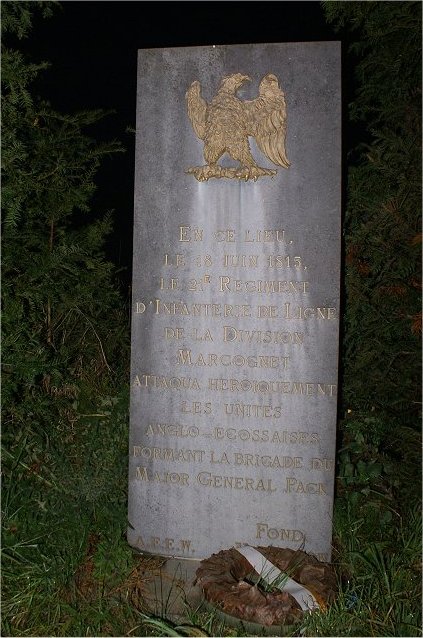
This is the left of Bijlandt's brigade.  The convent and left didn't exist during the battle, but the intersection here did.  Within the Y-intersection was a unit of men from Nassau.  Best's Hanoverians were to their rear near the big brick building at left.   Pack's brigade was to the rear of the left of Bijlandt.  The French 2nd Division crashed into the center of Bijlandt's line.  From where this panorama was taken down the road on the right of the panorama, the French 3rd Division attacked, piercing the line.  Two of the four battalions in Pack's brigade counterattacked.  When that proved inadequate, Pack committed the other two.  Facing a British bayonet attack, the French fell back.


French 4th Division

The intersection at the modern convent is at right.  The road prominent here descends the ridge at an angle to the Allied forward outposts around Papolette.

In the vicinity this panorama was taken, the French 4th Division attacked.  As the last column of an en echelon attack, however, events to the west would overtake what was happening here.  


Household Brigade Counterattacks

This is the view along the west side of the Brussels road south of La Haye Sainte.  D'Erlon's infantry attacked from the ridge near La Belle Alliance, passing through the French grand battery, about 600 meters in front of the tavern.  On the east side of the road, two regiments of Quiot's 1st Division, attacked La Haye Sainte, obscured here by trees and the ridge.  On this side of the road, the west side, Dubois's Cuirassier brigade moved forward in support.

As D'Erlon's attack was cresting the Allied ridge (behind the tree at left-center), Uxbridge, the Allied cavalry commander, ordered a counterattack.  On the west side of the Brussels road, on the left of the panorama, Somerset's Household Brigade attacked from between the mound and the intersection in the direction of the camera is.  The French cavalry near La Haye Sainte fled through the La Haye Sainte orchard south of the farm buildings then south along the Brussels road, which at the time was a sunken road.  French cavalry sent to their aid actually blocked their retreat and crammed them together so tightly that they couldn't fight back.  The slaughter by the British cavalry only ended when French infantry took position on either side of the sunken road, firing into the pursuing British cavalry.

Now let's return to the ridge to see where the other brigade of British cavalry counterattacked.


Bijlandt's Center

On the left half of the panorama is the view from Bijlandt's center into the Allied rear.  The two British brigades had advanced to the road to meet the French columns, and it was a crisis situation for the Allies.  On the west side of the Brussels road, from the grassy area on the left half of the panorama, Ponsonby's Union Brigade attacked.  In all, the combined strength of both the Household and Union Brigaeds was about 2,000 cavalrymen.  Ponsonby's attack was decisive.  Many of the surprised French surrendered or fled.


Grand Battery

Not content with repulsing the French attack, the British cavalry continued down into the valley toward the French lines, ignoring orders to return.  Reaching the French grand battery, they did great damage.  French lancers, however, attacked the disordered Brits, smashing them.  Ponsonby himself was killed, a vicitim of seven lance wounds after moving forward to get his men to return.  

By now it was about 3pm.  The Allies had repulsed a major French infantry attack, taking 3,000 prisoners.  The Allied infantry had taken heavy losses, though, and the Allied heavy cavalry had taken such heavy losses that it was no longer a factor.  With D'Erlon's repulse and with much of Reille's corps committed to Hougomont, Napoleon had little in the way of fresh infantry left.  Napoleon did still have around 9,000 cavalry available.  In around an hour, many of them would be committed to battle.


Copyright 2010-11 by John Hamill


Back to Waterloo