Esseillon Barrier - Fort Victor-Emmanuel
Fort Victor-Emmanuel
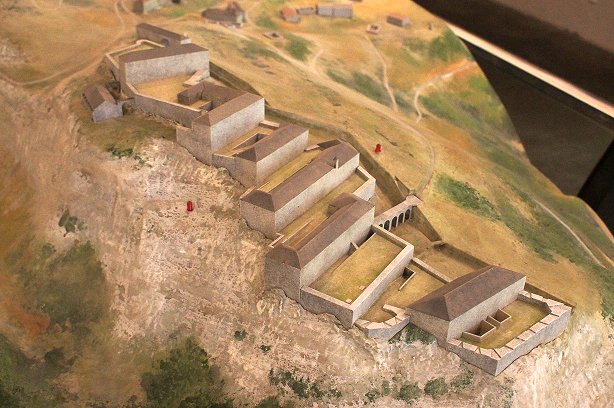
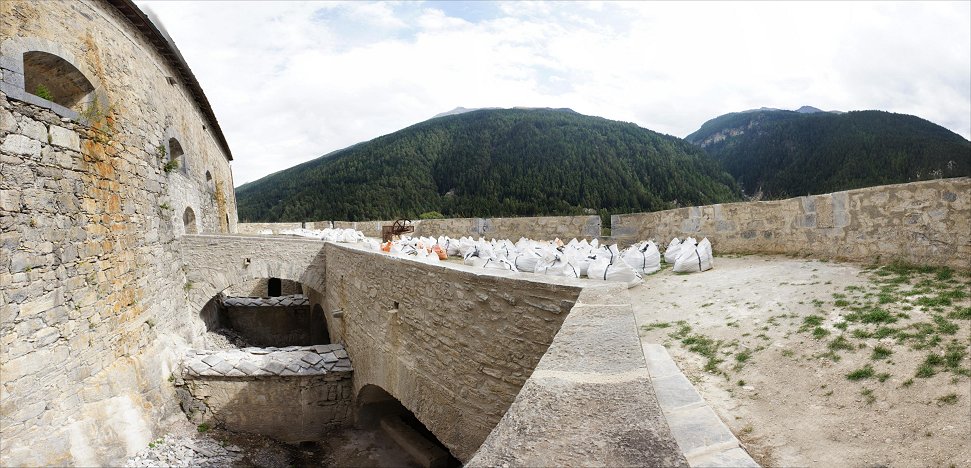
The west face overlooks the cliff and requires little addition
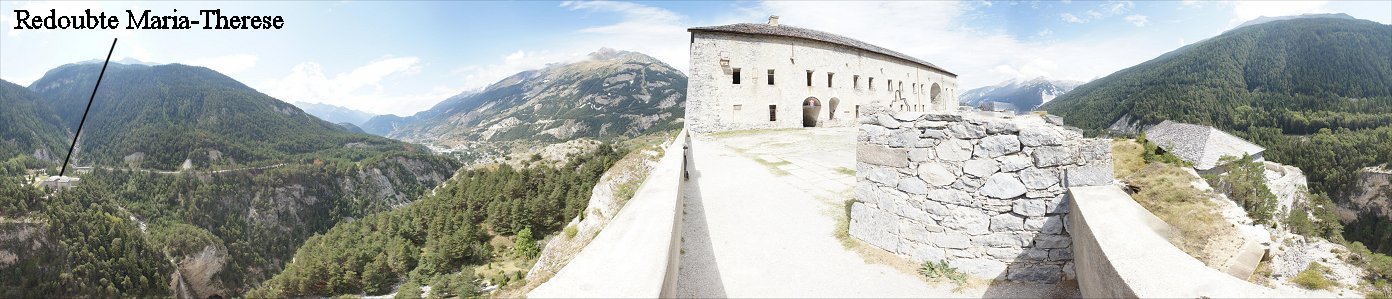
defenses. The south face overlooks the river gorge, Redoubt
Maria-Therese, and the road to Turin, so strong batteries face in this
direction. The east faces more gentle ground and a result has
defenses against potential attackers.
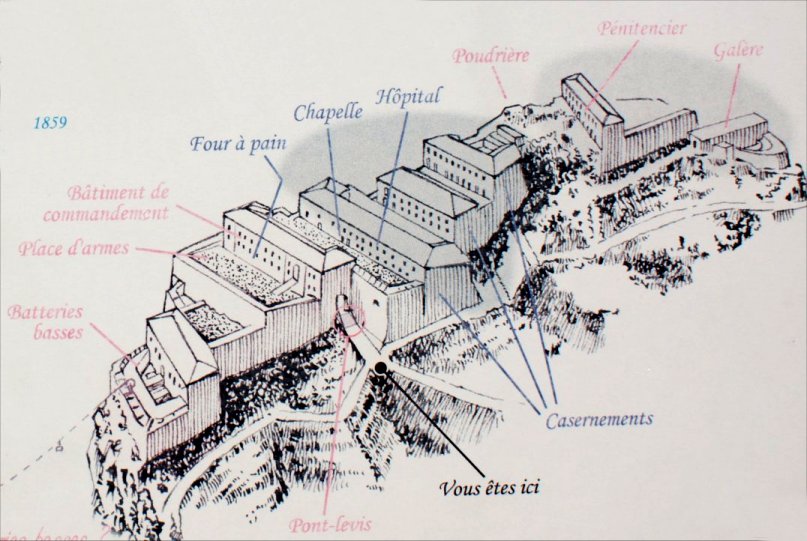
Fort Victor-Emmanuel
Although fire can be directed along the ditch, the fort is not a
traditional bastioned design. Let's continue past the site of the drawbridge and through the gate.
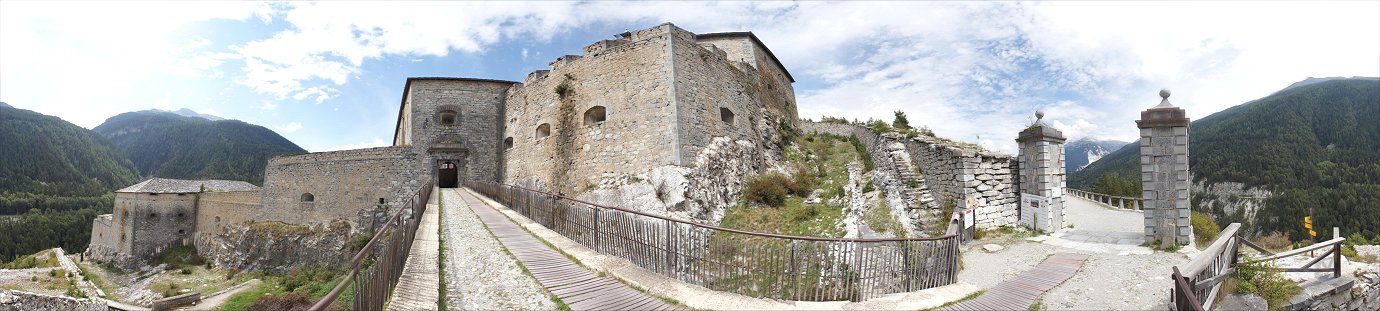
Entering at left over a drawbridge, we directly face firing slits.
Now we continue to the passage at the center of the panorama to
the lower batteries.

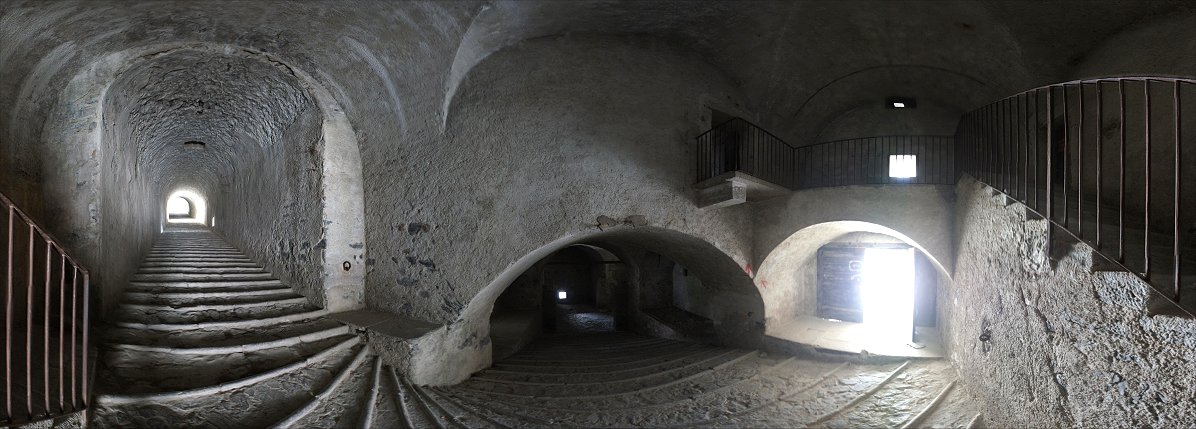
Iron fittings on the walls were used to help haul cannon up and down
the sloped steps. Next we continue down the passage at center.
And end up here and continue further down the passage at center.
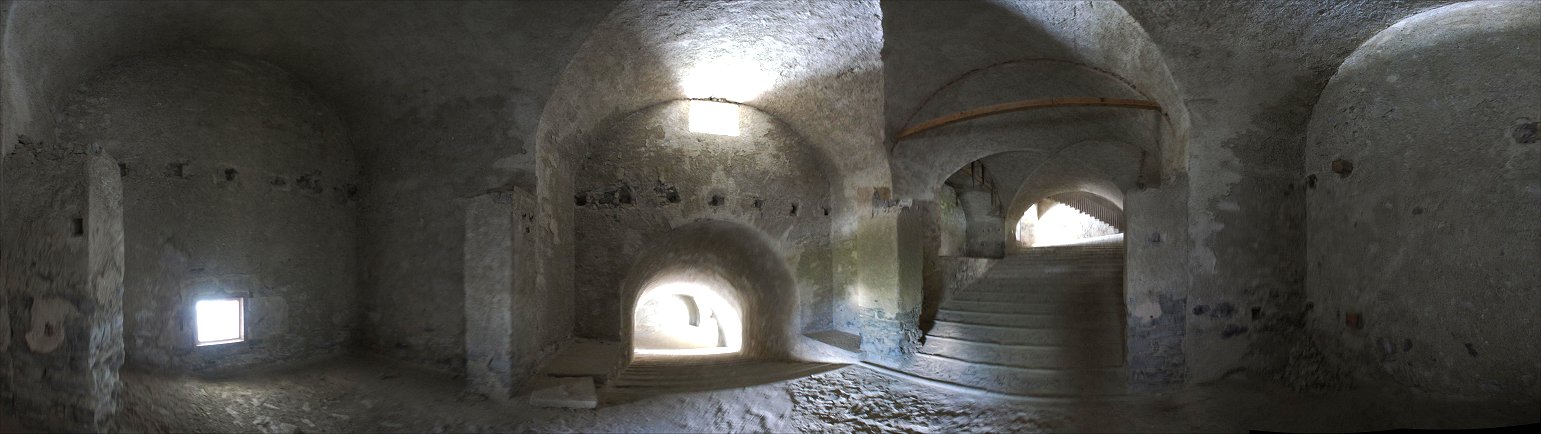
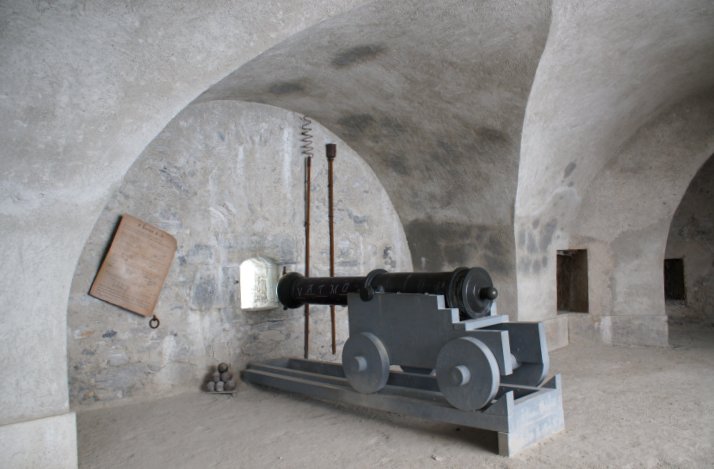
Casemated cannon are on the level below. (See photo below.) On this level, cannon
could be fired through embrasures. A cable allowed communication
with Redoubte Maria-Therese. Food and weapons could be moved between the forts.

The level of the entrance gate.
Fighting positions.
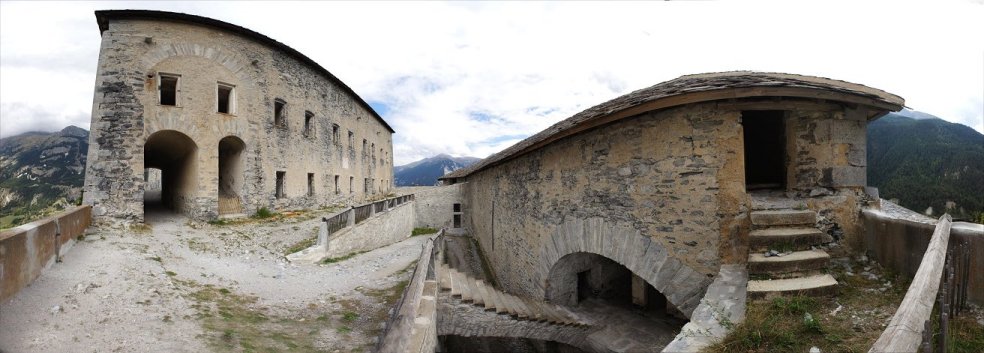

Ramps connect sections within the fort.


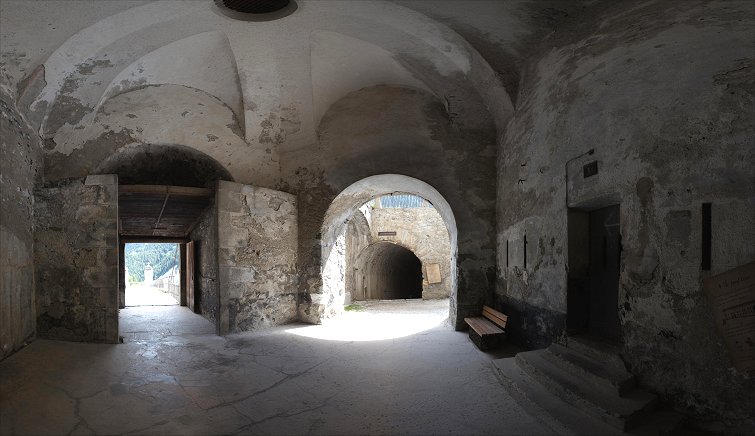
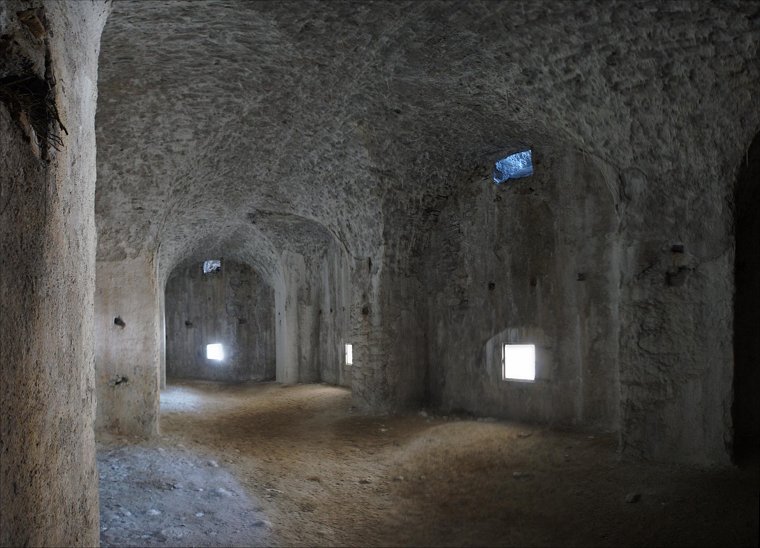
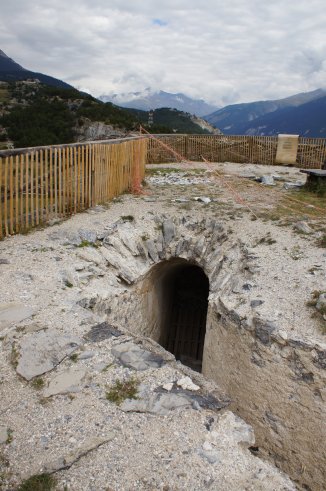
Gallery is at left. Underground passage begins behind bench. (See photo below.)
You can see the cliffs continue, and you can see two more forts
perched atop it.
Copyright 2015, John Hamill