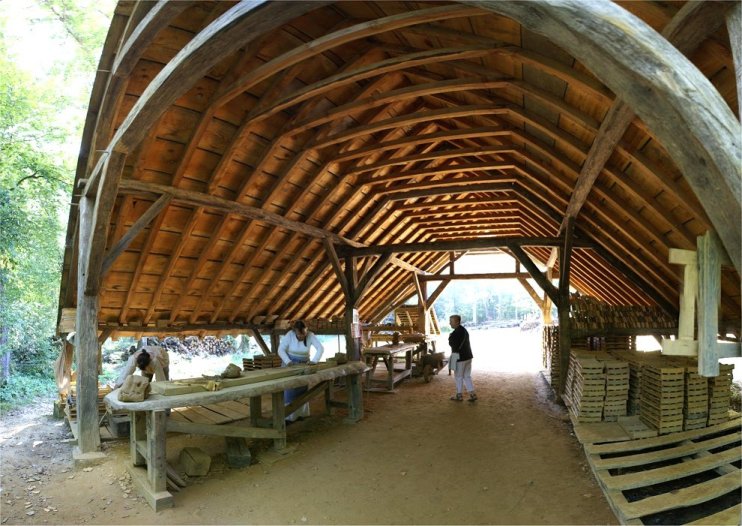
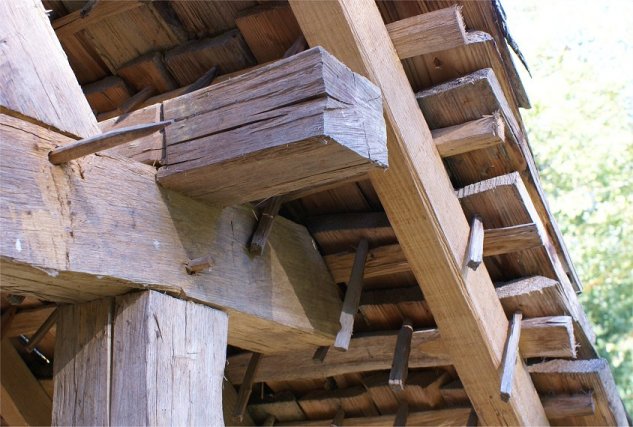
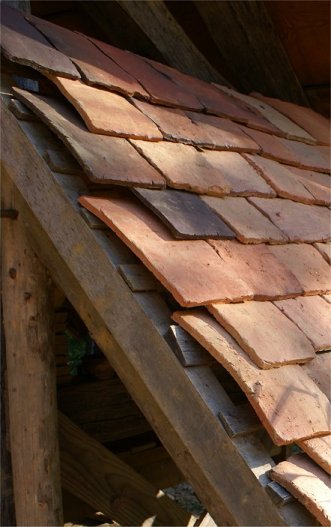
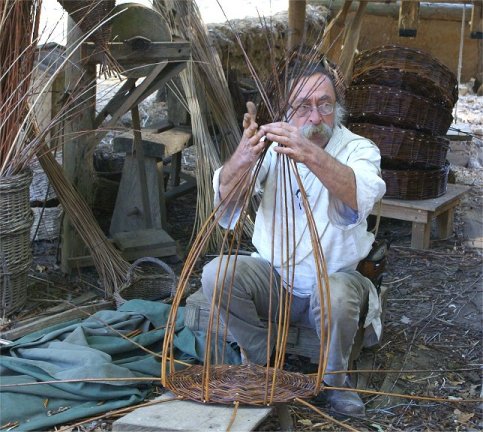
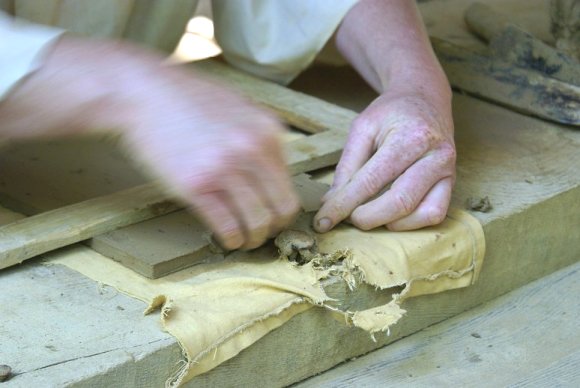
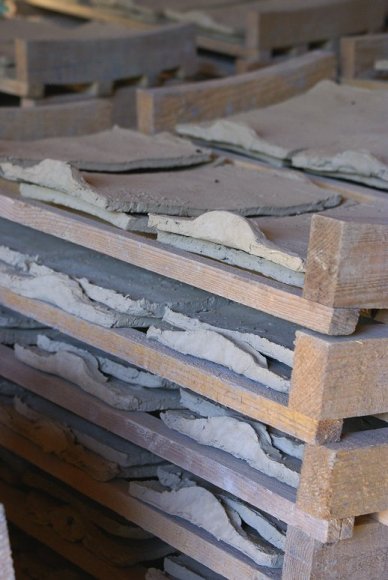
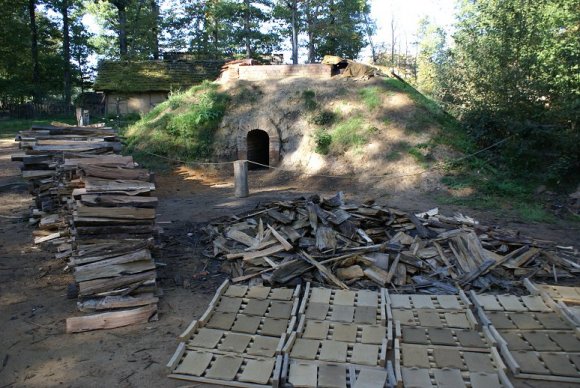
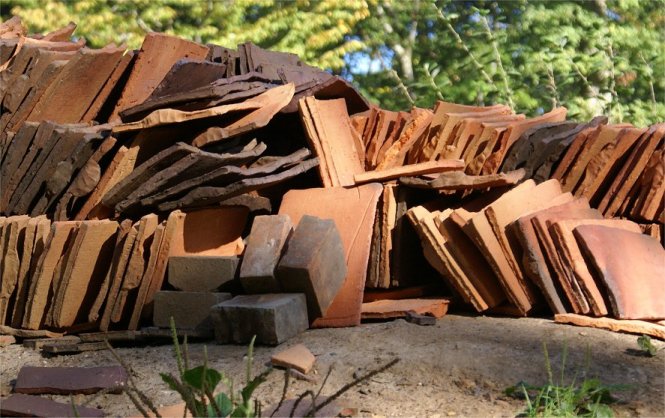
| Baskets are needed to transport clay and material for mortar. Clay is
worked into rectangular shape with a lip to rest on roof slats. The
tiles are then placed on wooden left out to dry for a few days. |
 |
 |
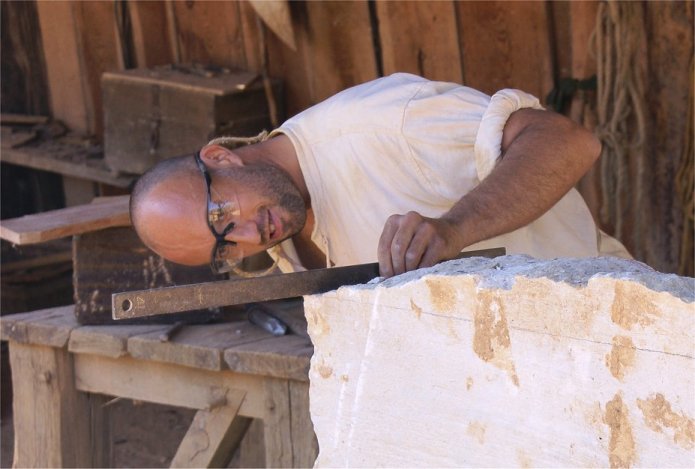 |
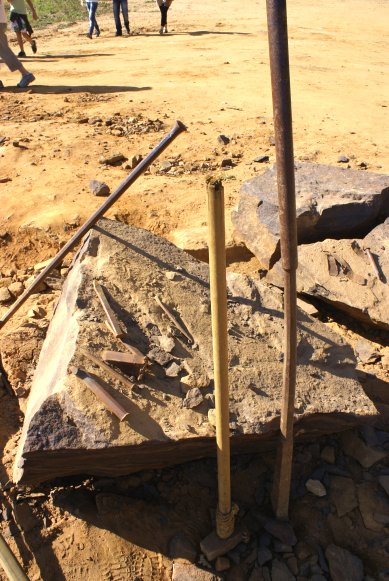
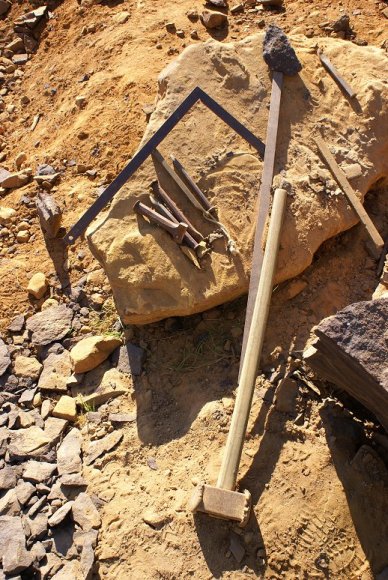
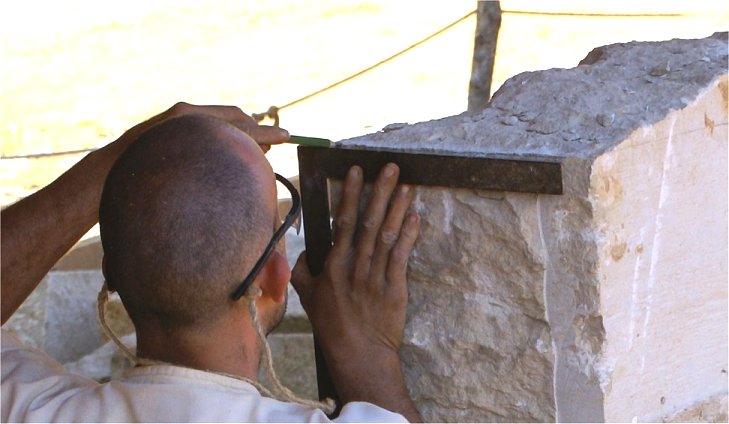
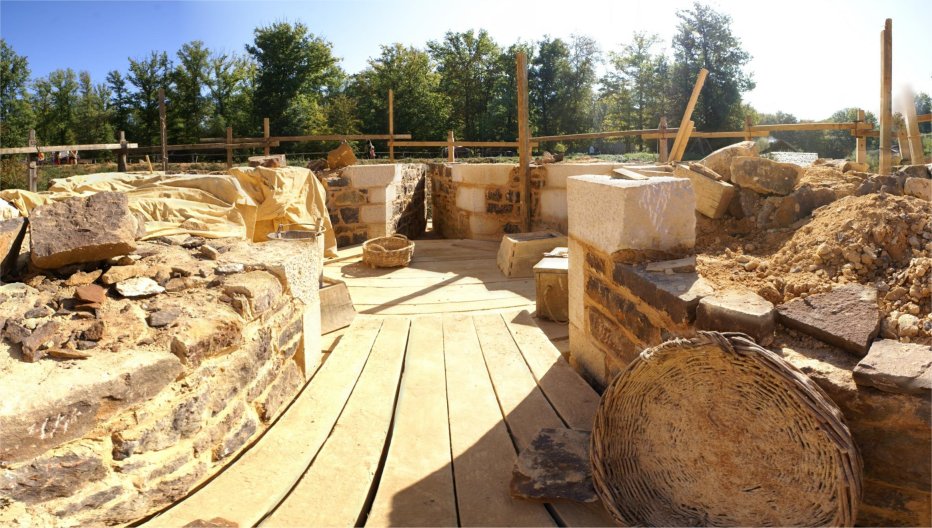
| Rough stone or rubble from the quarry could be used for the interior of walls. Stone for the outer walls required much more work. After quarrying, the stone would be shaped to the proper size according to its place on the wall. When construction first began, the workers were careful to create smooth surfaces. Progress was slow, however, so more recently the workers have been less careful about producing smooth stones for the walls. | 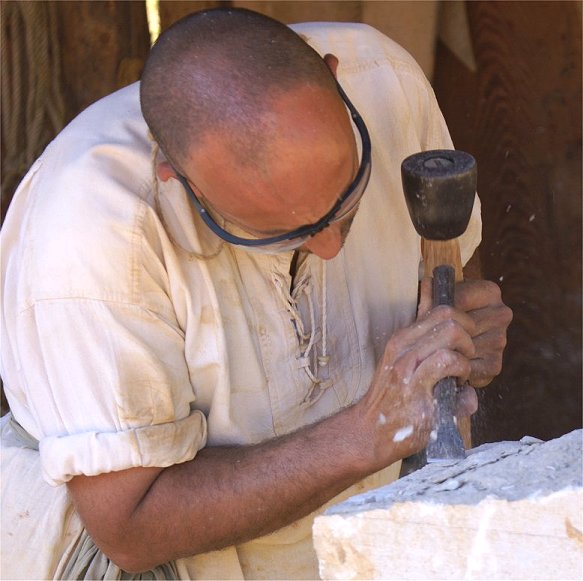 |
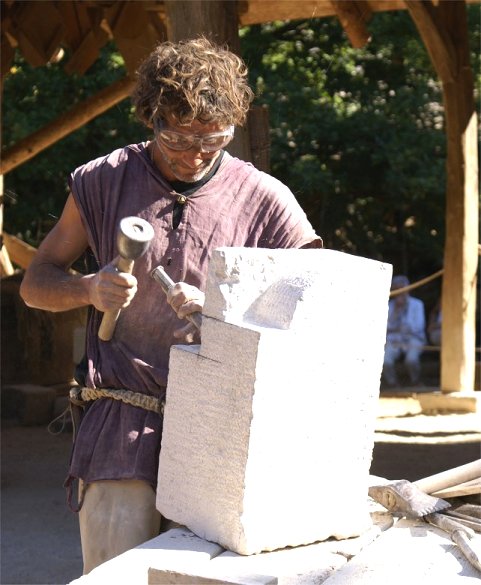
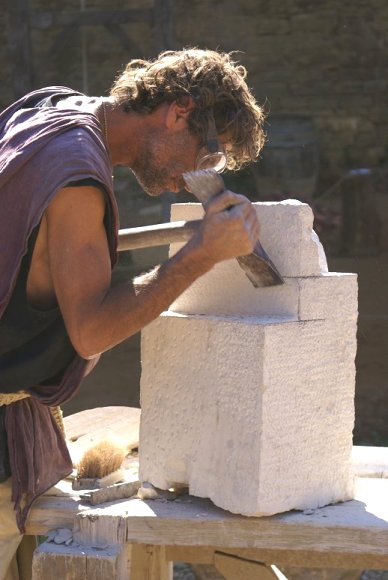
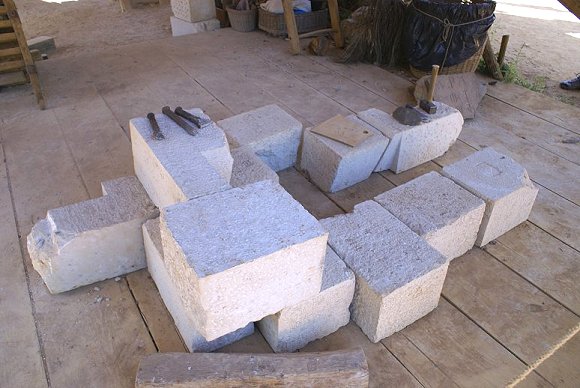
| Other stones must fit strict patterns and therefore require careful shaping. This is among the most skilled labor involved in building the castle. | 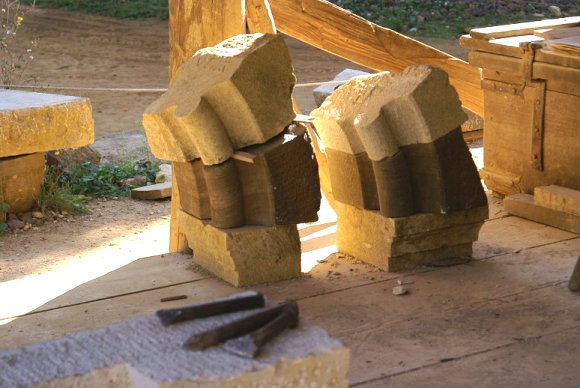 |
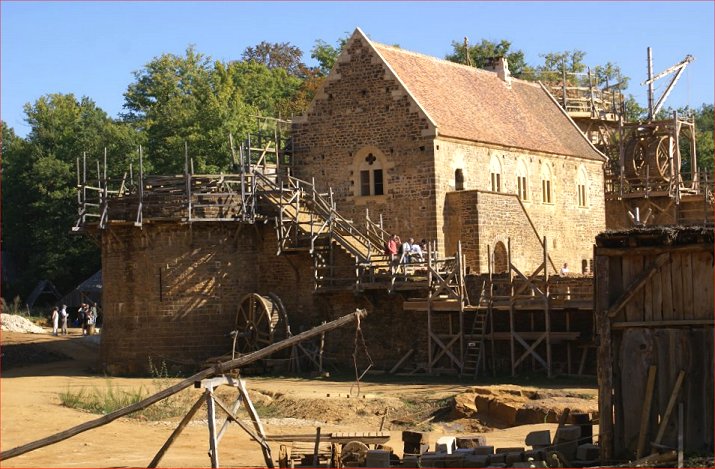
 |
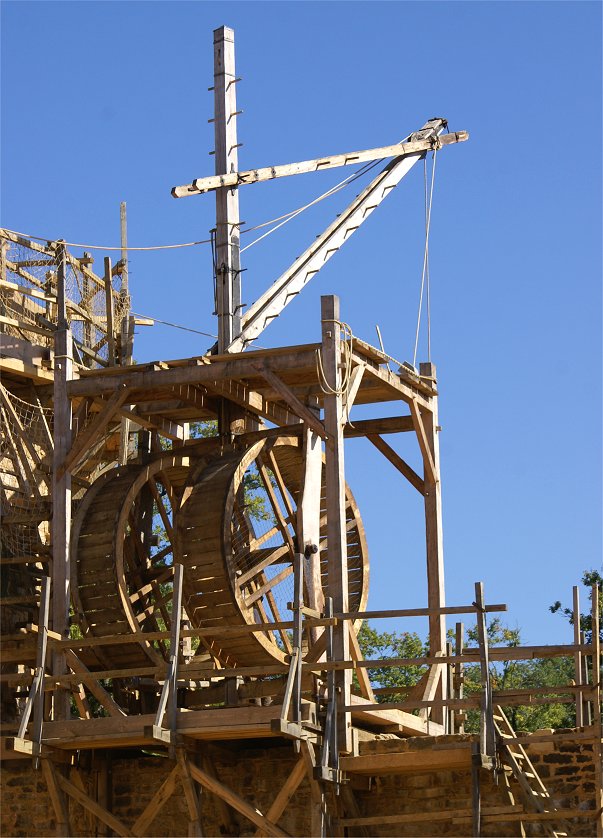 |
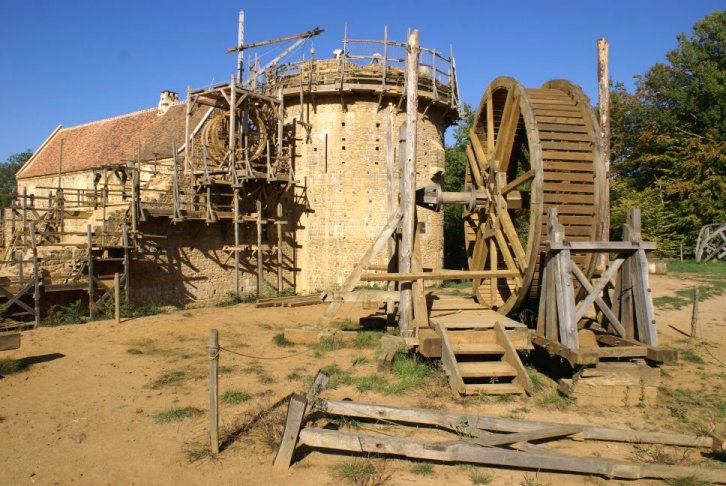
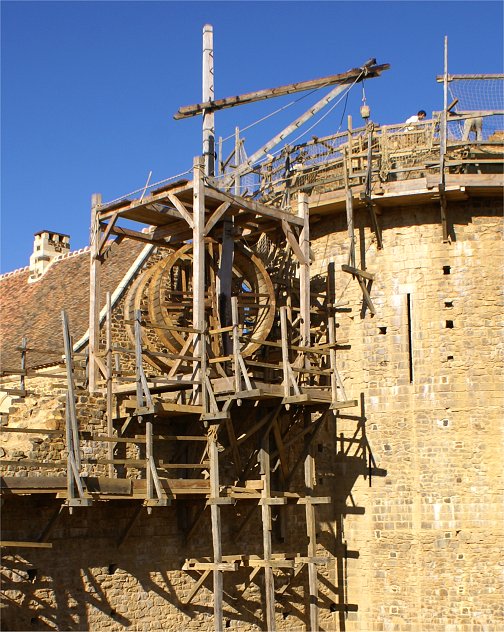
| The treadmill can be worked by walking inside of it, or for
lighter items turning it by hand. The rotation winds or unwinds a
rope around a spindle, either lifting via the crane or lowering an
item. Devices like this were common until industrialization
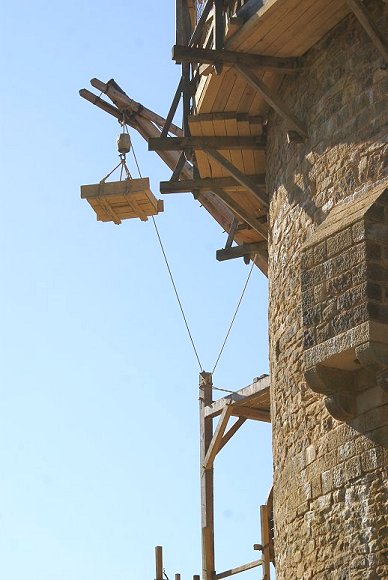
in the 1800s. The castle feature projecting outward in the photo at right is the garderobe, or latrine. |
 |
 |
 |
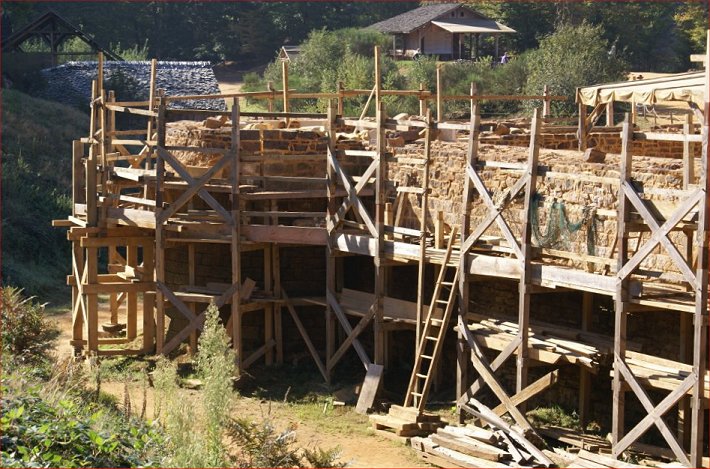
| For safety reasons the scaffolding is not a 100% medieval
style, but the principles are the same. The lower levels are
simple enough, but as the wall grows higher, poles are stuck into gaps
in the stonework, "pigeon holes", to support the platforms. The weight of the
treadway powered crane justifies using several levels of these pigeon
holes. The stonework must be planned with these pigeon
holes in mind. The holes are filled after the wall has progressed
further up. As the wall progresses higher there is concern with keeping the masonry level. In the picture at right you can see three bands with neater, more orderly masonry, each with three courses, or vertical layers, of stonework. These leveling courses are more carefully done to keep the building on track. |
 |
 |
 |
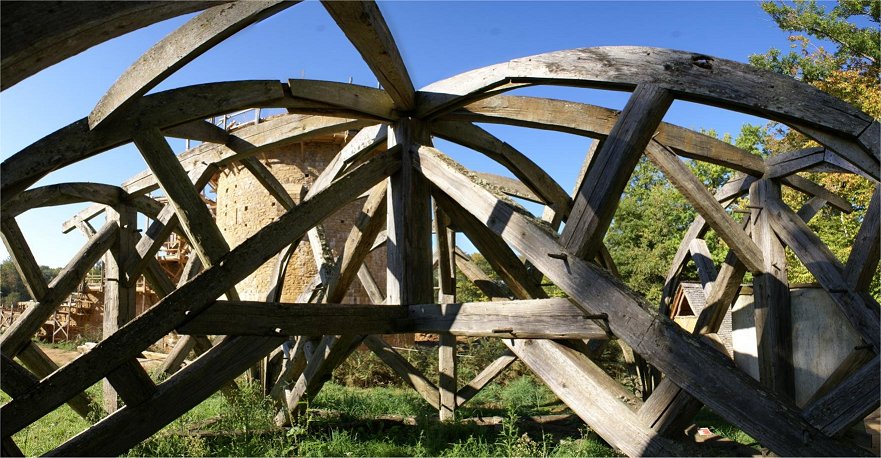
| A centring, the device in the photo above, is designed to brace the stones as they are laid to become the arch ceiling. The photo above right shows the whole wooden assembly involved with building an arch. When the arch is complete, the wooden blocks supporting it are knocked away, and the arch stands on its own supporting weight. The mortar used in building arches is a flexible type. Although it appears stationary, masonry moves a small amount. | 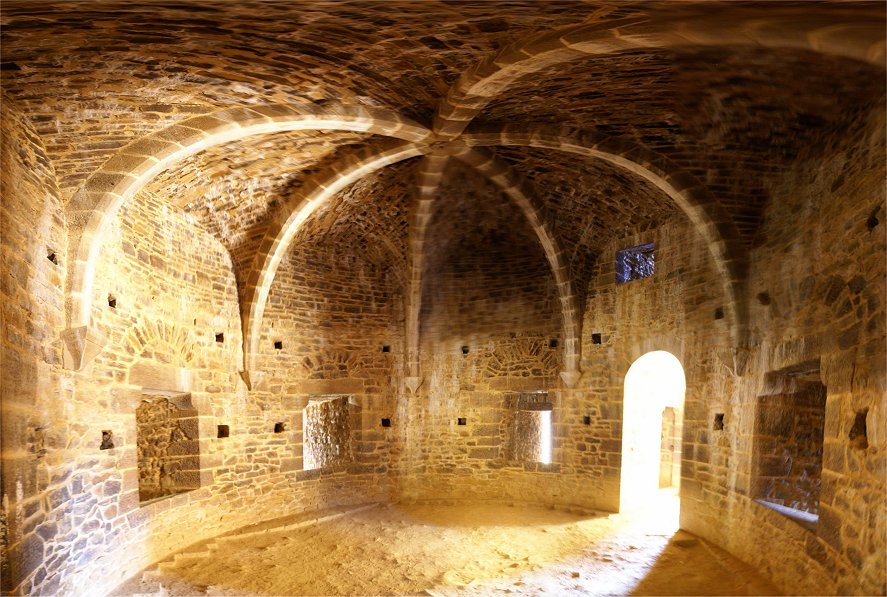 |

 |
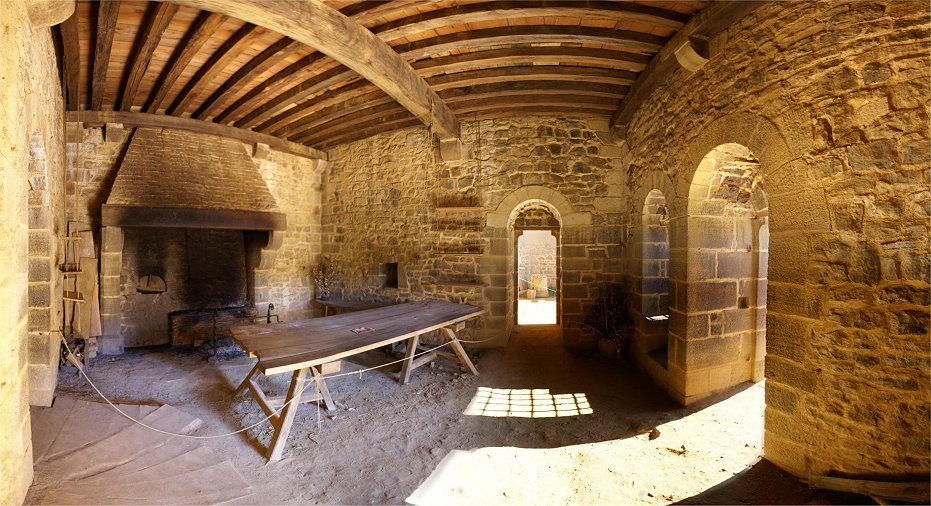 |
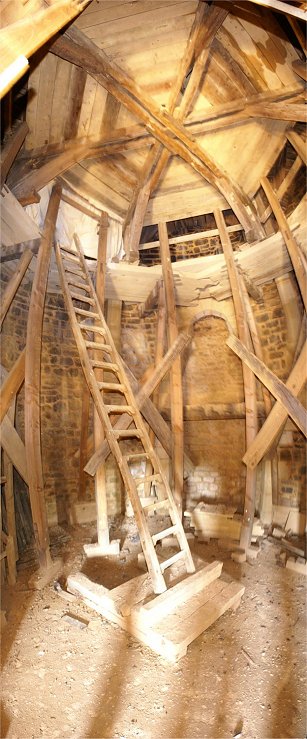
| This is the lower floor of the great hall. The beams
above us will
support, or will support, the flooring of the level above us. For
now it is incomplete, so in the photo above we can even see the
undersides of the roofing tiles. You can also see the section
near the fireplace where flooring has been installed and a place for
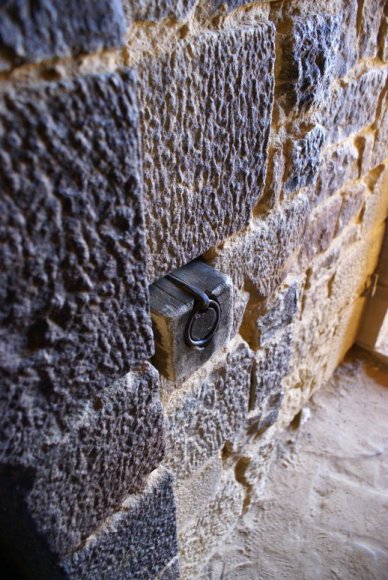
visitors to walk on the right side. The photo at right shows a sliding wooden piece recessed into the wall. It can be pulled out to bar a door. |
 |
 |
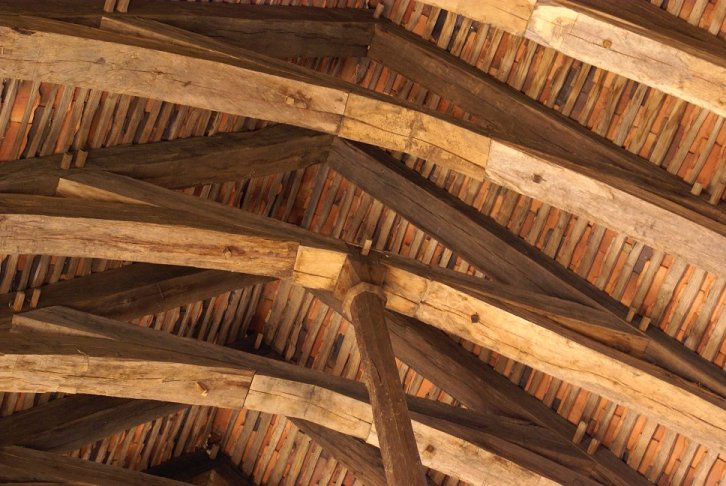 |
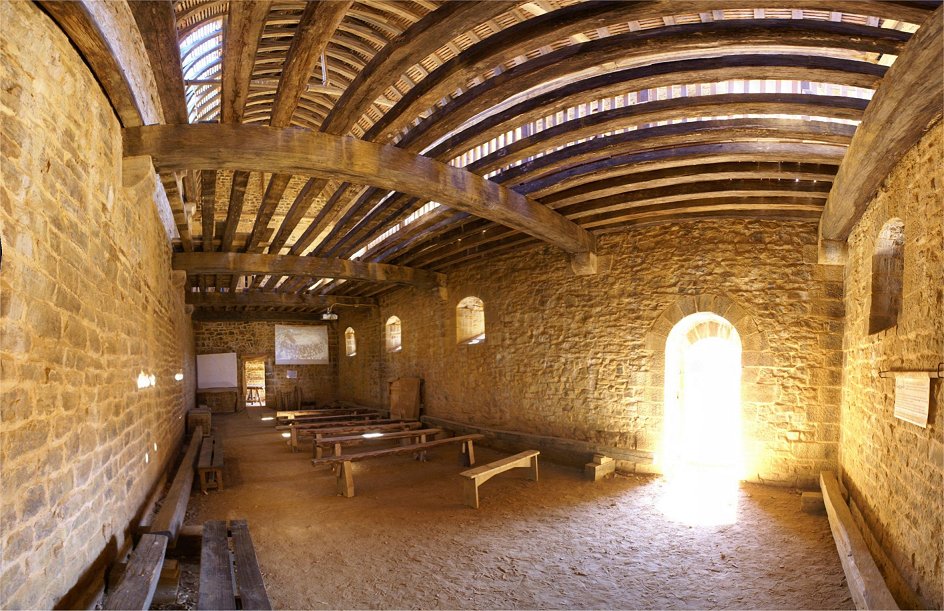
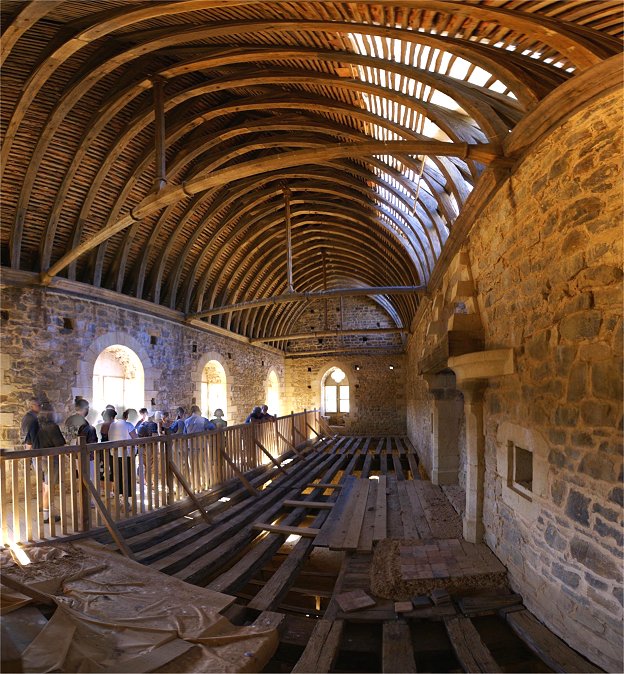
| This is the upper floor. The wood supporting the ceiling was difficult to bring into position as a treadmill crane was thought too dangerous for such heavy loads. Above you can see the wooden slats that the tiles rest upon. At the fireplace, dry dirt is put atop the wooden floor then covered with tiles in order to keep the building from catching on fire. | 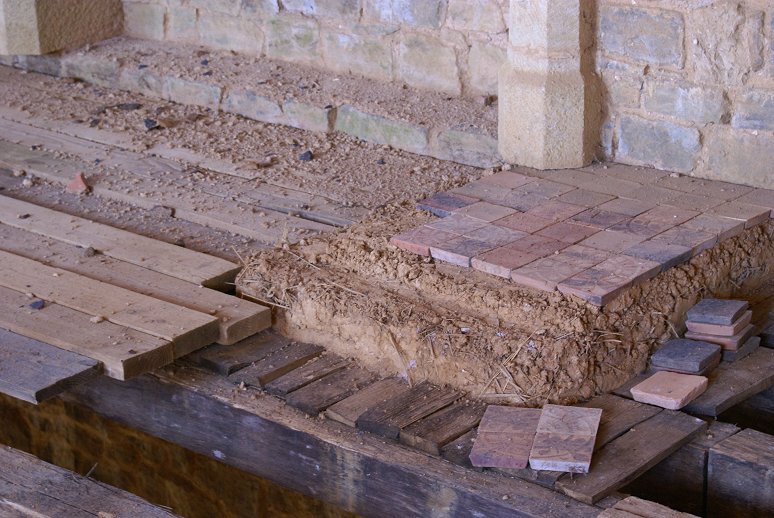 |