Deal Castle
Henry VIII's problems with producing a male heir led him to break with the Catholic Church in order to divorce his wife. As a result, in Catholic countries it became open season on England, leaving Henry no choice but to expand the navy and fortify the coasts. Much of the southeast coast was protected by cliffs, but a short distance north of Dover the cliffs ended and ideal invasion beaches stretched to the mouth of the Thames. Although the Downs offshore were dangerous at low tide and a serious hazard to an invader, it was still necessary to fortify the area.
So in the 1530s, three forts, at Walmer, Deal, and Sandown were constructed. This one at Deal was probably made in part from the stone of confiscated monasteries. Gunpowder artillery was still fairly new, and although the trace italienne design with diamond shaped bastions was typical on the Continent, the new English coastal forts featured a unique design. Being essentially a series of connected circular bastions, perhaps evolutions of medieval towers, the flaw with the design was dead ground in front of each one which could not be covered by fire from the others. In the event the enemy succeeded in capturing these circular outer bastions, they would be faced by the Keep, the interior circular bastions topped by a higher single, round structure. Deal is best example of this kind of design as nearby Walmer was much changed and Sandown has been largely demolished.
Controlled by Parliament during the Civil War, Deal Castle was taken by Royalists during the 1648 Kent uprising but surrendered after a frustrating siege.
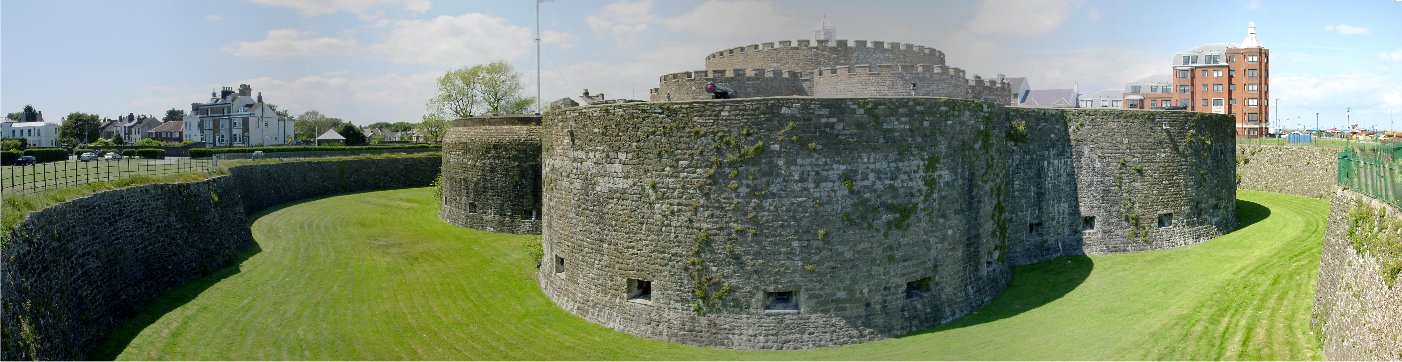
Deal Castle Looking Across the Ditch
In addition to the large guns atop the circular bastions, there was originally a second layer of guns inside the bastions, making a possible total of 63 guns mounted. Most of these open interior areas, however, were filled in during the late 1500s, making a more solid wall. Below you can see the gunports for small arms facing into the dry ditch, which number 145.
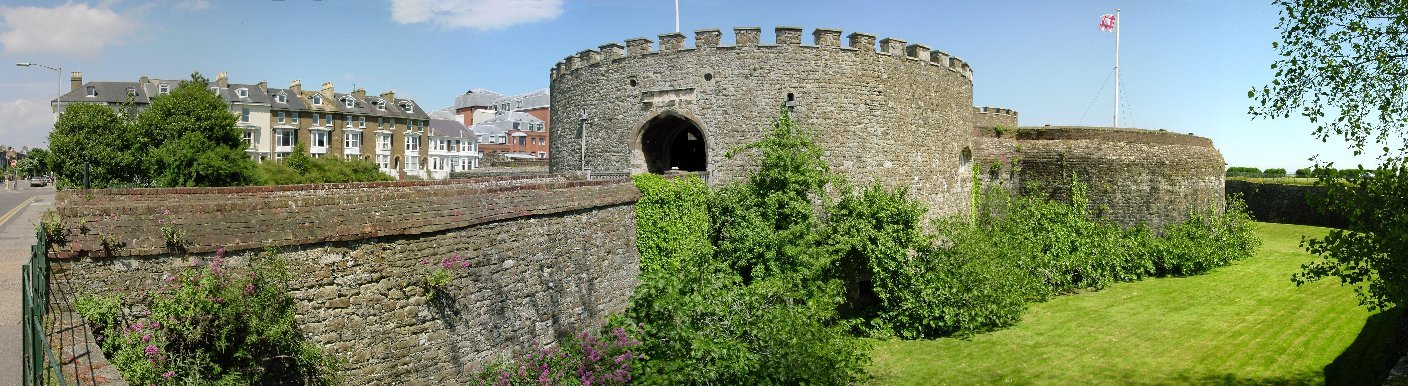
Entrance
This is a view of the entrance on the landward side. The stone causeway across the ditch is not historic. The fort featured a drawbridge, and the holes visible above the entrance are thought to have been used to raise the bridge. A plaque was once mounted between these holes. A portcullis and large wooden doors provided additional barriers to attackers, and above the corridor between them were murder holes above.
This Gatehouse bastion is higher than the others and was originally higher than it is now but seems to have been reduced in height during the early 1700s. A remaining gunport not filled in can be seen on the right side of the gatehouse.
 From Atop the Gatehouse |
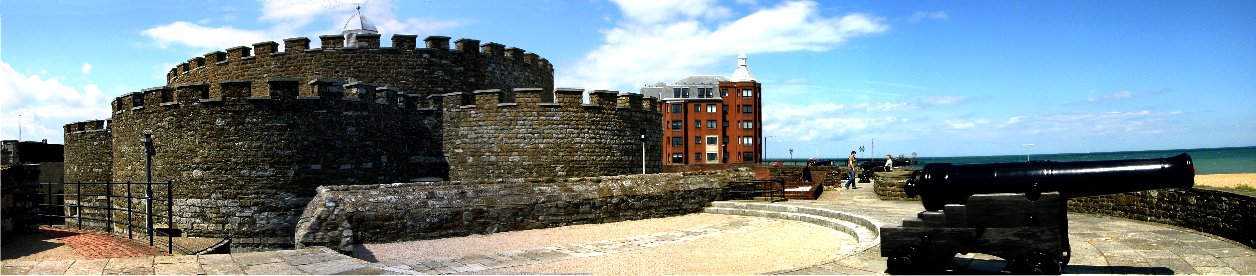 View From the Eastern Bastions |
These views from atop the gatehouse and the eastern bastions show how the keep is separated from the circular bastions. If an attacker had successfully had forced the gatehouse entrance, he would have found the entrance into keep to be on another side of the fort, which would hopefully confuse him and keep him under fire for a longer period of time. If you look closely at the second photo, you can see small arms firing ports along the walls of the keep.
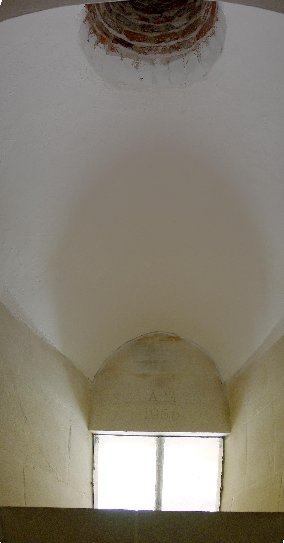
Exhaust
This is one of the small arms gunports. Like arrow slits from times past, it is shaped so as to allow the musket to be pivoted, providing a wider field of fire. Because of the smoke produced, above is an exhaust port or flue.
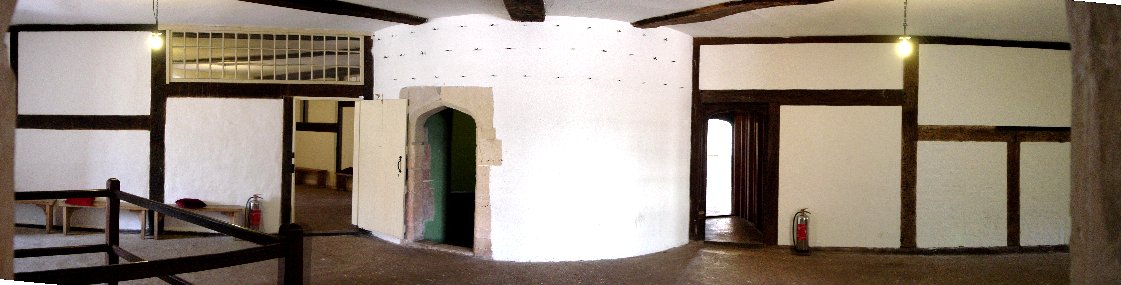
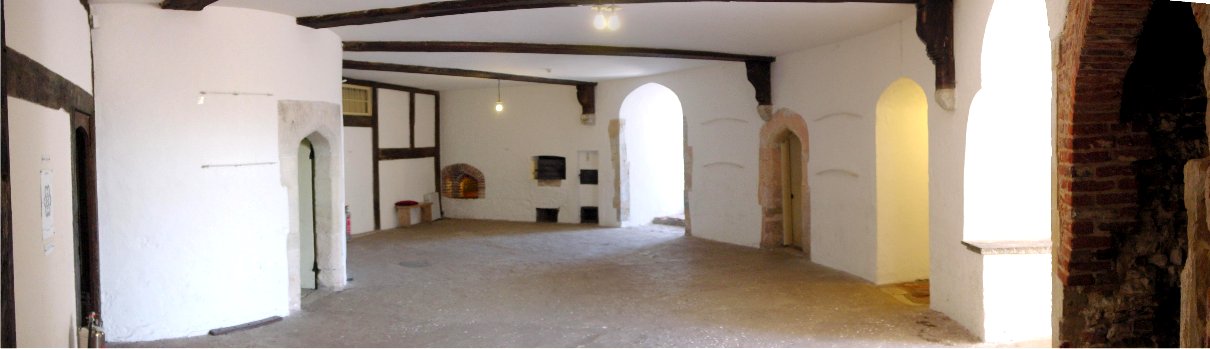
Keep
This is the interior of the keep, where the garrison lived. Brick ovens and fireplaces remain. A central stairwell leads to the basement or above to the officers' quarters and the lantern.

Keep
The small pit on the right of this pan is thought to have been a forge used for maintenance of weapons and armor. It extends into the the bastion which can be entered through the opening to its left. As is clear from the outside, the keep includes circular bastions also.
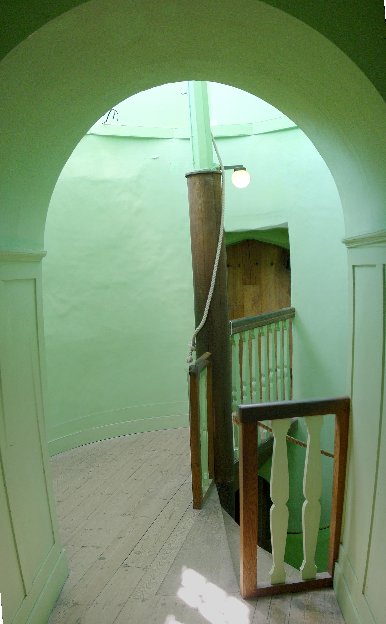

First Floor
The upper or first floor was altered in the 1700s to make it more comfortable. In the top picture, a post in the center of the stairwell extends up to the lantern in the cupola visible from outside the fort. The above panorama shows some of the original wattle and daub on the left protected behind glass.
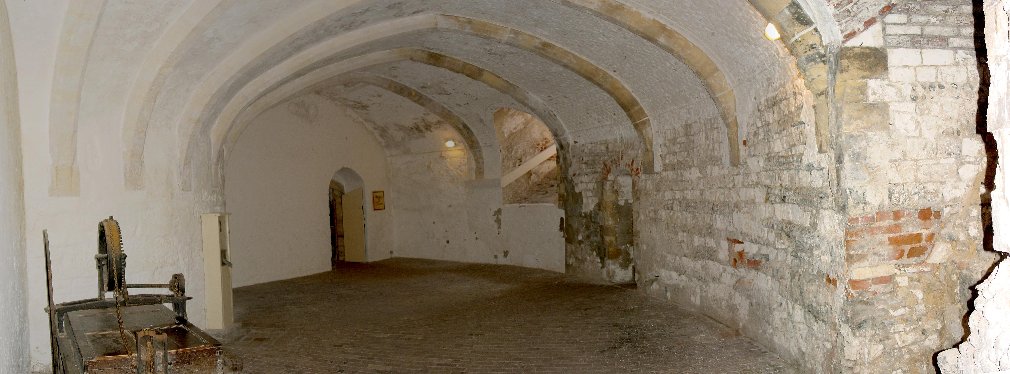
Basement of the Keep
The basement was used to store food, supplies, and ammunition. In this room is a Victorian clothes pressing machine. Elsewhere in the basement are passageways around the whole of the fort with positions for the small arms gunports just above the ditch.
Barracks
Because of its important location Deal has also been home to a number of barracks and other military and naval facilities, including a small dockyard.