Fetterman Fight
December 21, 1866
Photos copyrighted by Chris Marks of Ann Arbor, Michigan, 2004.
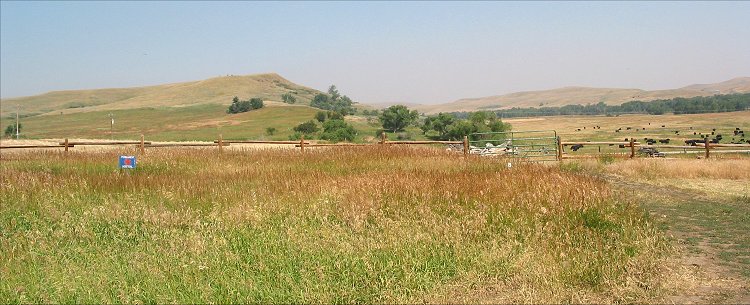
From Missouri to California, the California Trail was traveled by western settlers starting in the 1840s. When gold was discovered in Montana, settlers blazed the Bozeman Trail, branching off the California Trail in Wyoming, and cutting off 400 miles of the journey to the gold mining areas. The trail ran through Sioux hunting land, and they were understandably suspicious. A conference failed to allay their concerns, and hostilities began.
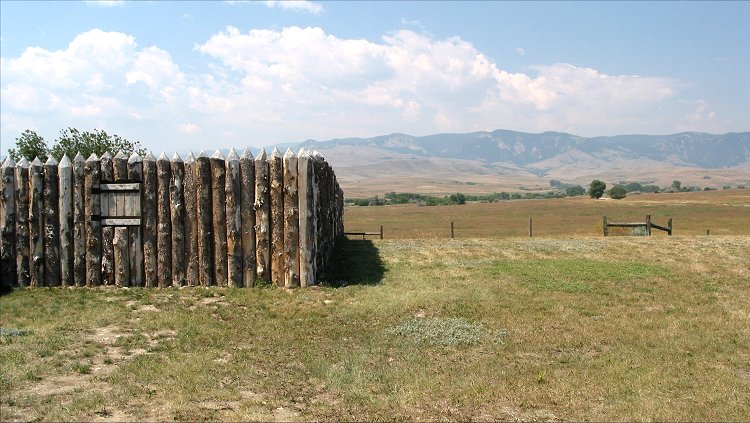
Col. Henry Carrington, in command of the 700 man 18th Infantry Regiment, took a portion of his men north from Fort Laramie. Near the modern day town of Sheridan in northern Wyoming, he established Fort Phil Kearny in an open area with good fields of fire and good access to water. But it was found that the fort had deficiencies. It was in low ground, and the Indians could observe the all the army's movements. When a company of the 2nd Cavalry reinforced the garrison, Carrington had around 350 men - soldiers and civilians - to defend the fort. Since it was a large fort, it took most of the men to garrison it, and as winter approached, another deficiency of the site was revealed, a good source of firewood was a full five miles away. The Sioux exploited this, attacking and harassing the wood parties.
Fetterman Leaves the Fort
On December 21st, the wood party was attacked again. The wagons formed a circle and fought off the Indians. Carrington ordered a Cpt. Powell, who had shown prudence on a similar mission several days before, to lead a relief column. Cpt. William Fetterman argued that he was senior to Powell and should be given the command. Carrington relented. Fetterman took the 48 men of his infantry company armed with muzzle loading Springfield rifles, Lt. Grummond with his 27 cavalrymen armed primarily with Spencer repeating rifles, and five others, a total of 80 men. Perhaps not coincidently, it is said that Fetterman had once boasted that with 80 men he could ride through Sioux country. Indeed, he would disregard his orders to put his theories to the test.
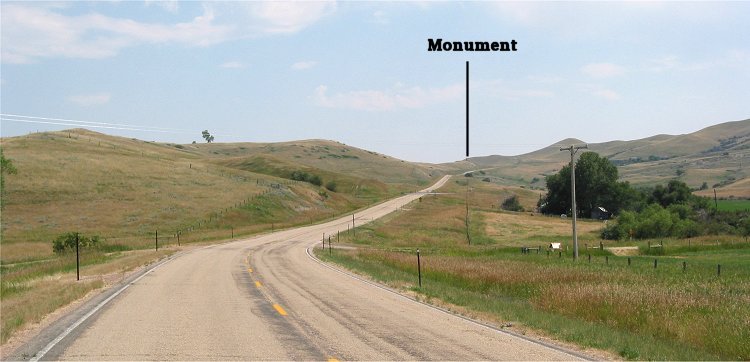
Looking North from Ft. Phil Kearney
An Indian party, possibly under Crazy Horse, approached the fort, drawing artillery fire. They quickly withdrew, luring Fetterman after them. The Indian attack on the wood party had been along the foot of Sullivant Hill, which is on the left of the picture, although the fighting took place much further west, off the picture. The attack on the wood party was abandoned, and the Sioux moved west into the Peno Valley.
Following the Indians, Fetterman crossed Lodge Trail Ridge on the right of the picture and continued west (or left on this picture) along another ridge on the Bozeman Trail. Completely falling for the ruse, Fetterman pursued vigorously, and the column became badly separated. In front, near the end of the ridge, James Wheatley and Isaac Fisher, two civilians armed with repeating Henry rifles, accompanied three enlisted men under a quarter of a mile ahead. Lt. Grummond followed behind them with the 27 cavalrymen, while Fetterman with the remaining infantry lagged over a half mile behind the cavalry.
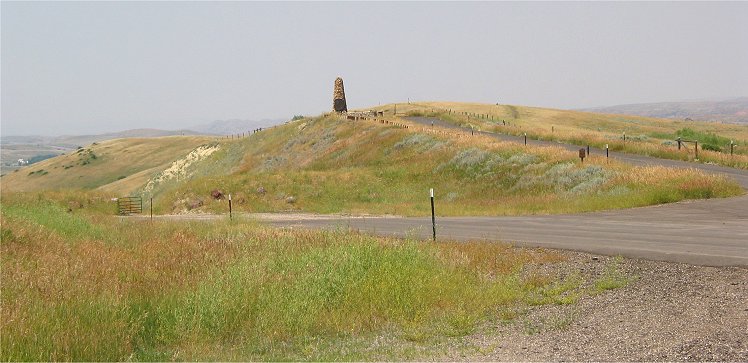
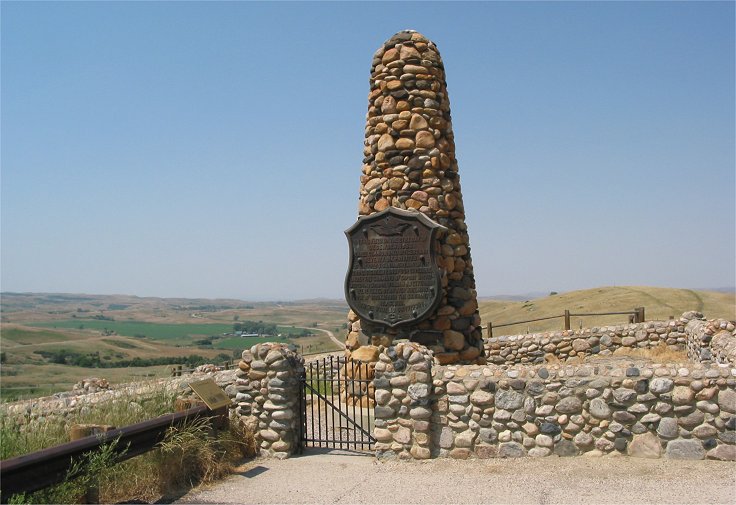
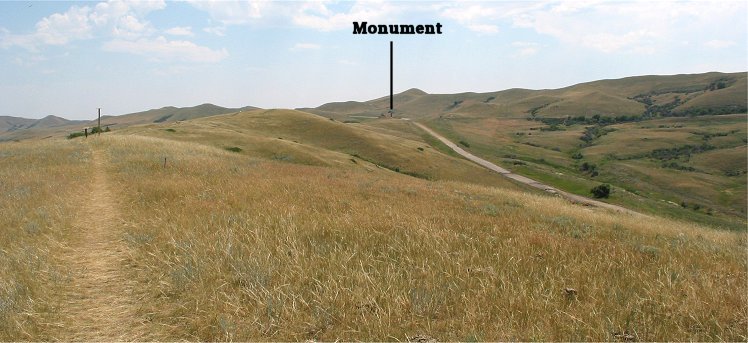
Fetterman's Company
Here, at the area of the monument, was Fetterman and the infantry company. Along the route of the Bozeman Trail, further north on ridge on the right of the picture, was the cavalry company and five men in advance of the whole force. With the ruse working as well as could be expected, the Indians who had been serving as bait turned on their foes and attacked while around 2,000 Indians attacked from both sides of the ridge, but primarily from the Peno Valley on the left of each of these pictures.
Looking South
This is the view from further north along the ridge looking back to Fetterman's position. Peno Valley is on the right.
Looking North
This is the view looking north along the ridge. Indians attacked from the Peno Valley on the left, but also from the right, where you can see the modern interstate.
Peno Valley Looking South
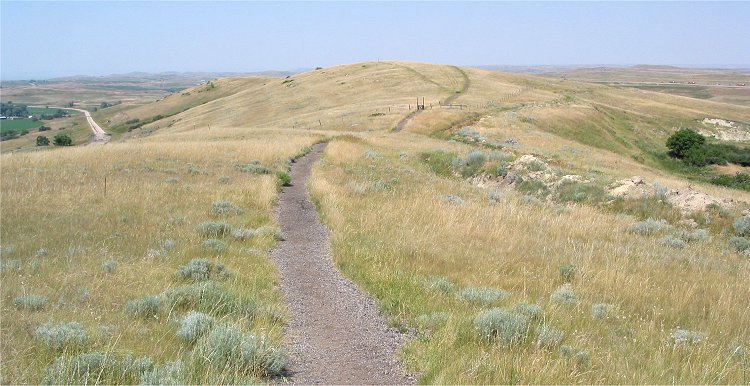
This is the view from below the ridge in the northern end of the Peno Valley. With Fetterman's company all the way back where the modern monument is, and with the cavalry and the five men in advance of them stretched out as far as 3/4 of a mile in front along the ridge on the left of the picture, the portions of Fetterman's force were out of supporting distance of each other and vulnerable.
When their limited supply of ammunition was expended, there was no hope. The fight probably only lasted forty minutes, by which time all of Fetterman's 80 men were dead. Col. Carrington back at the fort had dispatched Cpt. Ten Eyck to help Fetterman, but he arrived too late to be of any assistance. Fetterman and Cpt. Brown shot each other in the head to avoid the horrors they could have expected upon capture, and indeed, the Indians mutilated the corpses thinking that it would hinder the soldiers in the afterlife. Indian losses are unknown but are thought to be around 100 killed and 2-300 wounded.
In 1868, Indian demands were met. The Bozeman Trail was closed and the forts were abandoned and destroyed.
Back to John's Military History Page