Yorktown Part 4
Aerial Photo Courtesy of Todd Ferrante


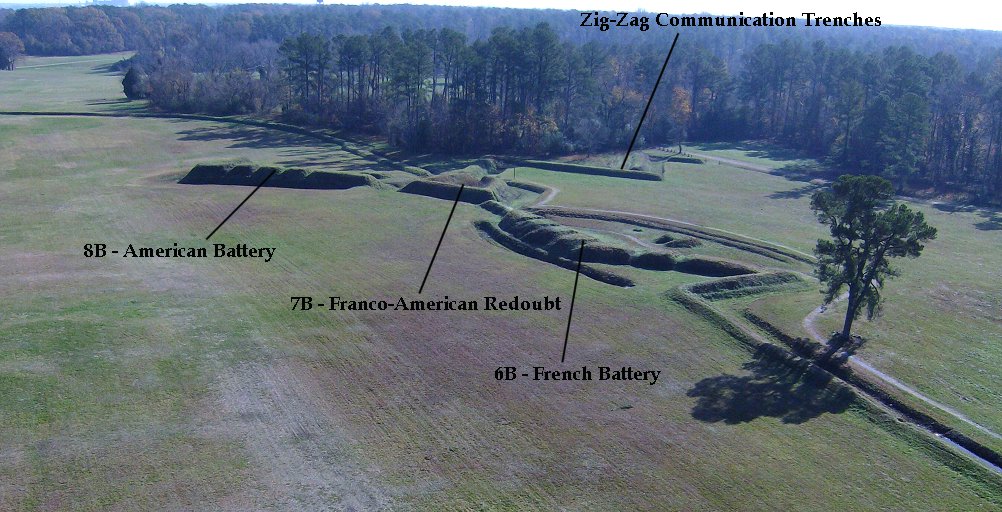
Abercromby's Sortie
Cornwallis was in great danger and had to attempt some sort of sortie, if only a token one for reasons of honor. Lt. Col. Abercromby led 350 men from the British Hornwork toward the second siege lines at around 4 A.M. on October 16th. His men completely surprised and eliminated French pickets in front of the siege lines and entered the Allied works in the area between by passing around Structure 7B, the Franco-American Redoubt. Here the American and French lines joined, and a battery of each army flanked the redoubt. The British spiked about six guns by driving bayonets down the touch holes but were driven back in hand to hand combat when French troops in a ravine behind the siege line counterattacked. The British lost seven killed and wounded and five captured. The Allies lost 17 men total, but because the British had brought the wrong equipment to spike the guns, the guns were back in action in a few hours.
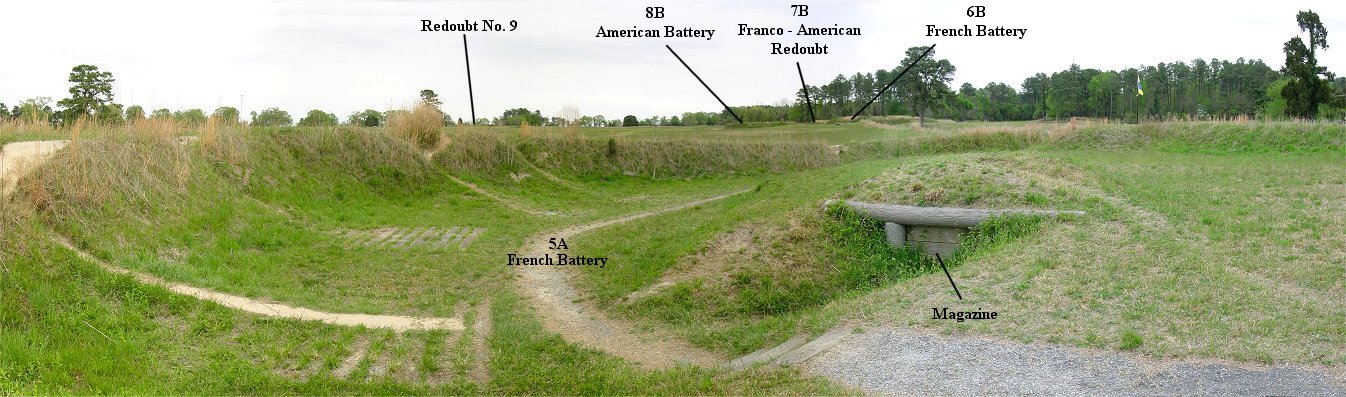
View of 5A
The view from the neighboring French battery, 5A, shows where Abercromby had attacked. Also visible is a magazine and the protective entrenchment to the rear of the work.
Cornwallis now determined to cross the York River to Gloucester Point and break out of Allied lines there. This he attempted on the night of October 16th and 17th. He didn't have enough boats, and the crossing was hindered by a storm. With the failure of this effort, there was little hope for Cornwallis.
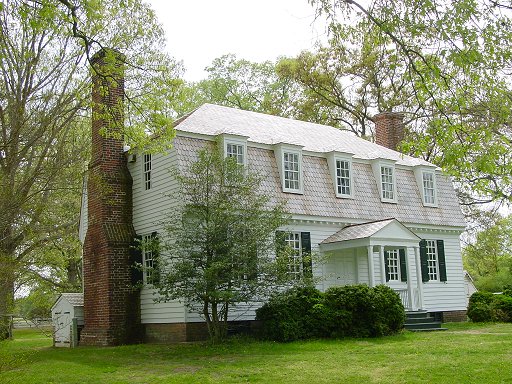
Moore House
On the morning of the 17th, a drummer boy beat a parley atop the Hornwork, and an officer appeared with a white handkerchief. The officer was blindfolded and brought to Allied lines with a surrender proposal. On the 18th, officers of both sides met at the Moore House and the British were granted honorable terms, although in reaction to how the American surrender at Charleston had been handled, not as favorable as the British would have liked.

Surrender Field
On October 20th over 7,000 British troops marched out to turn in their arms. Cornwallis claimed to be sick and sent his second in command, Gen. O'Hara. O'Hara tried to surrender to Rochambeau, but the Frenchman referred him to Washington, who referred him to his second in command, Benjamin Lincoln who had surrendered Charleston the year before. Although it would take until 1783 for a peace treaty to be signed, Yorktown effectively ended the war.
Aerial Photo is courtesy of Tim Timmons
 |
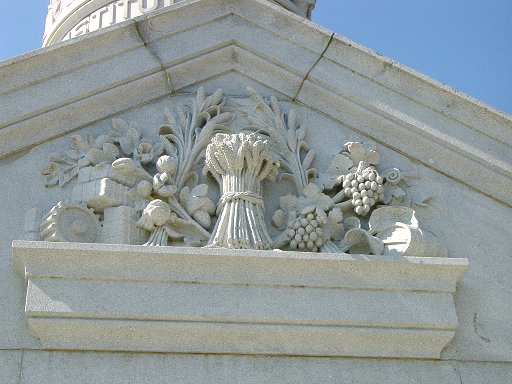 |
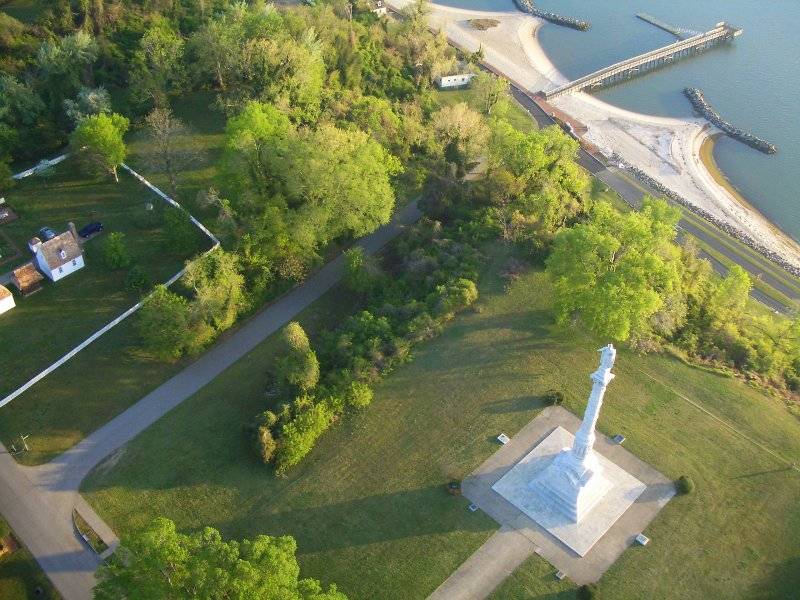
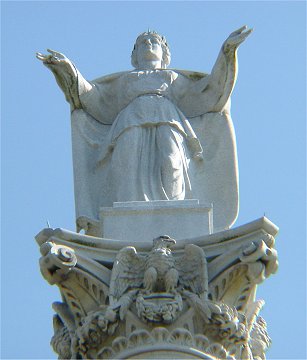
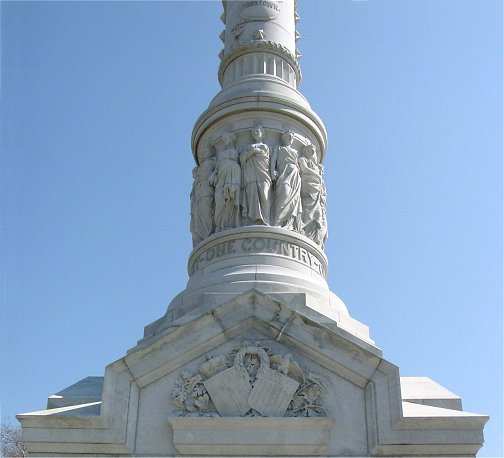
Victory Monument
Authorized soon after the victory at Yorktown, the monument was completed in 1884, well after the Civil War. It commemorates both American and French involvement in the victory - land and sea - and also shows the fruits of victory. Being 98 feet tall in a flat region, it has been struck by lightning several times. The statue of Liberty on its top was replaced in 1956 and is fitted with a lightning rod. So not only is freedom not free, celebrating it isn't free either.
Except photos noted otherwise, all photos are copyright 2006 by John Hamill.
Back to Revolutionary War Virtual Battlefield Tours