Saltville Part 3
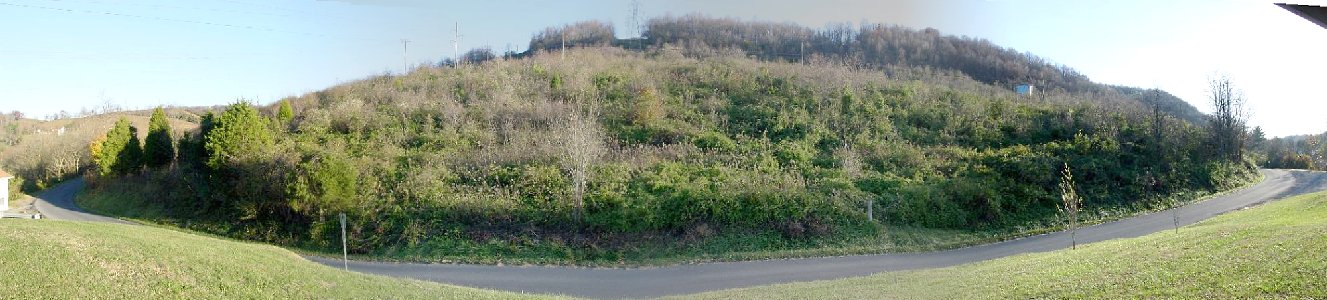
Chestnut Ridge from Overlook
Confederates defended the hill here and further around it on the left side of the picture. A Confederate battery supported them on the hilltop. Toward the right of the picture you can see how the hill extends into a ridge into the direction of the town of Saltville. A rebel battery on the far end of the ridge harassed Union troops that captured the east end later in the battle.
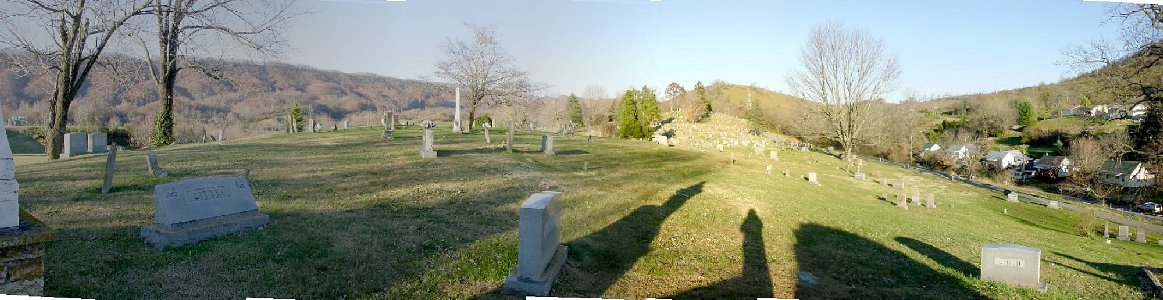
Elizabeth Cemetery
This is the cemetery shown in the diorama. Looking east, on the far right is Sanders Hill, with the hills Ratliff's Union brigade advanced over in the center and right background. The road on the right leads down to the ford crossing the river. The rebel 10th Kentucky assisted by the 64th Va and 10th Kentucky Rifles defended the ford, but were unable to hold back the Yankees, and fighting erupted in the cemetery. By the time Confederate reserves were committed, the Union troops were withdrawing.
Although not without success on the battlefield, Burbridge decided that with low ammunition he would be unable to take the town. His retreat began that night,and the wounded were left on the field. The saltworks were safe for now.
The black troops were never well thought of by their Union comrades, less so by the Confederates. An unknown number of wounded Union troops, mostly black troops and their white officers, were killed by Confederate troops, some here in Saltville and some at the hospital at Emory and Henry College. Estimates range from around ten to 155, but the true figure will probably never be known. General John C. Breckinridge soon took command and ordered the killing stopped.
Back to Civil War Virtual Battlefield Tours