
Guilford CH Third Line
Near the Right of the Third Line
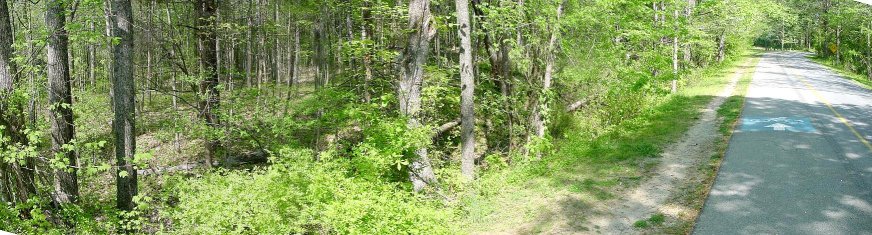
Here, outside of park service land to the north, you can get a good view of the ridge. On the far right near the stoplight is the top of the ridge, which extends down to a creek, then up the British held ridge.
South of Third Line
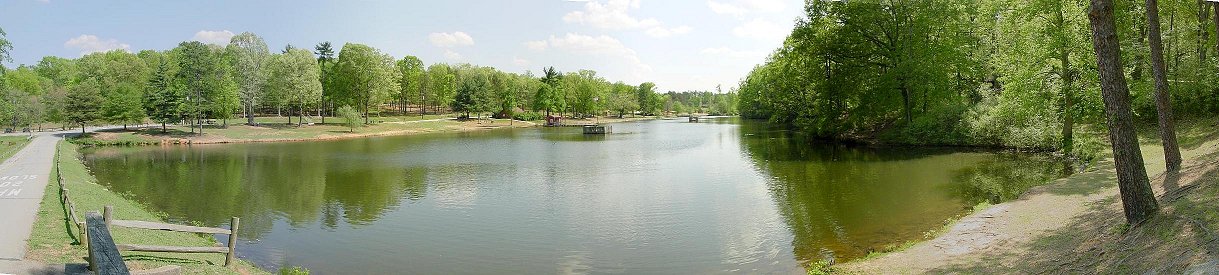
Greene deployed his third line entirely north of the New Garden Road, but the ridge extends further south. If you walk south along a paved path near the third line, you can see this area, now a Greensboro Park. This is the view looking south, with the extension of the third line ridge to the left. At the time, the pond did not exist. Why did Greene think this flank was safe?
Steep Slope
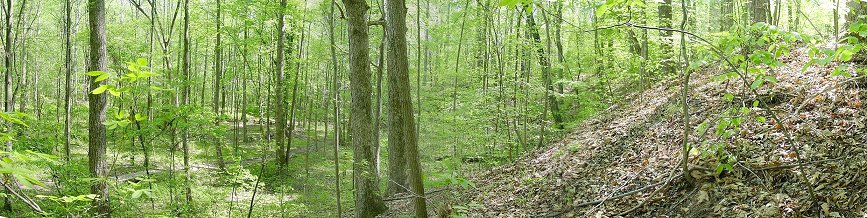
Possibly because of this. This is the slope between the pond and the hill where the Cavalry Monument that mentions Peter Francisco is located. This terrain made an advance south of the New Garden Road difficult and helped funnel British troops toward Greene's line. Greene also seems to have expected Lee to extend the left flank of the third line.
View From British Artillery Position
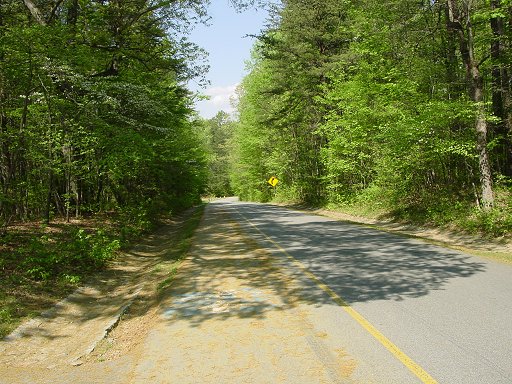
This is the view along the tour road looking down "Peter Francisco Hill." At the bottom of the hill, the tour road turns right and takes up the route of the New Garden Road. The trees in the distance are on the third line ridge. It is thought that the British 3 pounders were deployed on this hill and in the crisis of the battle fired into friend and foe alike.
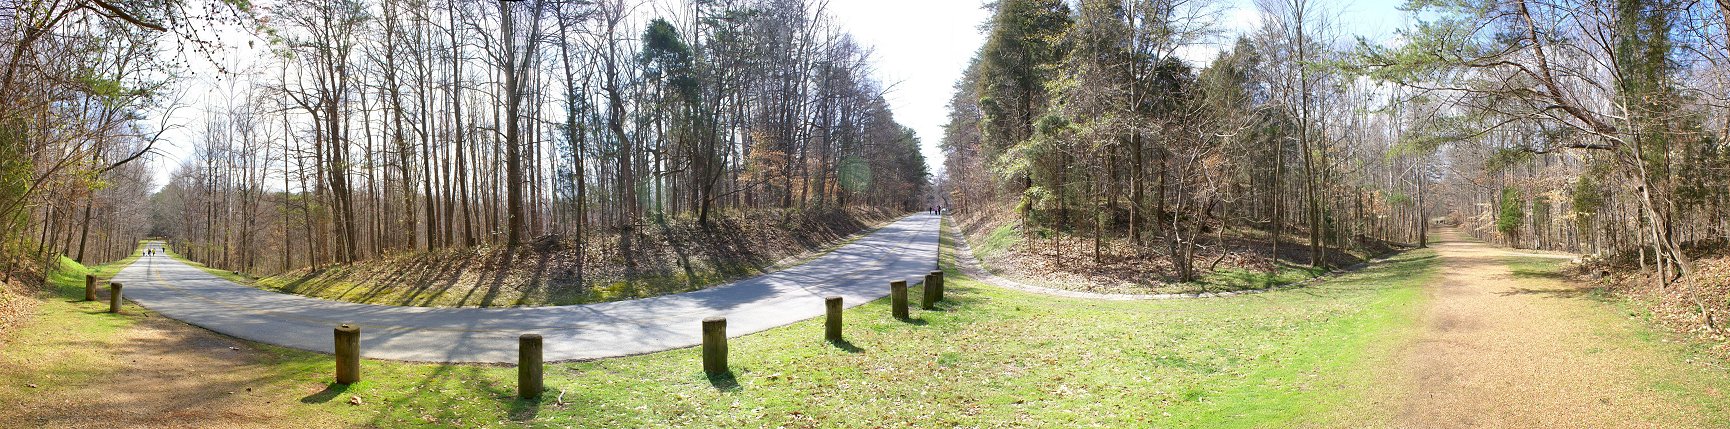
Here the tour road descends from near the Cavalry Monument, the likely location of the British 3 pounders, in the center of the panorama. The tour road connects with the trace of the New Garden Road, the dirt/gravel road on the right, and continues toward the courthouse location and the third line. Pedestrians may help you with scale. The pedestrians on the left are walking over fill dirt which crosses the stream. The slope of the ground here actually continues downward.
Up New Garden Road
Unfortunately, the area of the third line has not been cleared of trees to make it historically accurate, but hopefully these photos give some idea of the American position. Tree clearance is always a controversial subject. Recent clearings at Gettysburg were opposed by environmentalists, and the same could be expected here.
This is the British view up the ridge. The left of the American line ended before the curve in the road, but the slope was steeper than the road shows. During road construction, the roadbed near the bottom of the hill was raised with fill. The American line was not at the physical crest of the ridge but was much further down to give the Continentals the best field of fire possible.

View From the Foot of the Ridge
This is the British view up to the American position. The stream is just beyond the far right, and the road and its raised bed are visible. Despite the trees, you can tell a little something about the slope.

The Stream
This is the creek in front of the ridge. It is the same creek that flows from the ponds in the Greensboro Park. Firsthand accounts of the battle mention a creek.

View of the Tour Road From Near the Bottom of the Ridge
The park service tour road circles back around the third line and descends the ridge further north, crossing the line again here, possibly somewhere near the location of Finley's artillery.
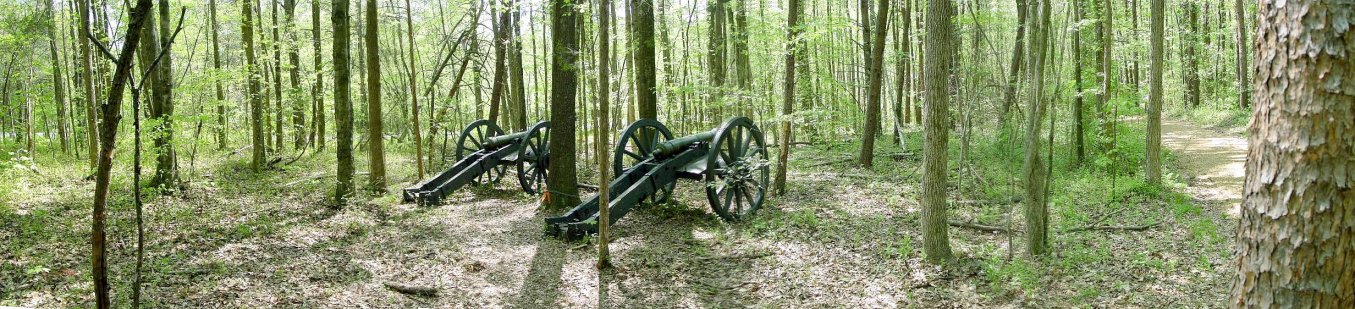
Singleton's Artillery
Through the trees on the left half of the picture, you can see the New Garden Road descending the ridge. Singleton's guns were the extreme left flank of the third line.
Fight For The Third Line
First Attack
Finley's 6 pounder guns in the center separated the 4th and 5th Virginia Regiments from the 1st and 2nd Maryland Regiments which extended to the New Garden Road. Singleton's 6 pounders had fallen back from the first line and supported the Maryland regiments. Washington's cavalry had withdrawn from the second line to the right of the third line, and some militiamen rallied near the courthouse although they took little or no part in the coming struggle.
Webster's three units finished with the right of the Virginia militia before O'Hara, so his men appeared out of the woods fronting the third line. Being overly aggressive, Webster decided to take on the third line with his men alone. He advanced from the woods with the Light Infantry, Jagers, and the 33rd Regiment toward the Virginia regulars. At a distance of 100 feet, the Continentals opened fire and the 1st Maryland wheeled, or pivoted, to their right and launched a flanking bayonet attack. Webster was mortally wounded and his troops were thrown back. Some historians believe that a general attack by the Continentals might have won the battle at this point, but Greene knew that it was more important for his army to survive the battle than it was to win it. Webster's repulsed troops waited for assistance.
Main Attack
When O'Hara's brigade finished with the Virginia militia of the second line, it moved toward the left of the third line.
O'Hara had only the 2nd Bn. of the Guards and Grenadiers, but they were elite troops. Behind him and approaching were the 23rd and 71st Regiments. Also being overly aggressive, he did not wait for this support, but attacked immediately with the Guards. The 2nd Maryland was on the far left of the line, their line bent slightly to the rear and their far left near the road. These troops were recent recruits, and they ran at the sight of the Guards. Singleton's guns were taken, and the Guards wheeled left to continue the attack. It looked like the American line would collapse. One of the Virginia regiments had been sent beyond the right flank in response to a presumed threat, but it was now returned.
The 1st Maryland may have been the best unit in the whole Continental army. It had moved to flank Webster, and its rear was now exposed to the Guards. The Marylanders turned around to face the Guards. Washington's cavalry had been on the right of the Continentals. Now they moved behind the American line and circled behind the Guards. The Guards were surrounded, and their commander, Lt. Col. Stuart, was killed. Washington caught sight of Cornwallis and was about to attempt his capture when he lost his hat. By the time he recovered his hat, the opportunity was lost. The British situation was now desperate, and when Lt. Macleod brought up his 3 pounders on the hillside opposite the ridge, Cornwallis ordered him to fire into the melee, killing and wounding friend and foe alike. This desperate measure relieved the situation.
By this point, the 23rd, and the 71st Regiments were now appearing on the field. The American army withdrew, and the four 6 pounders were abandoned because many of the artillery horses had been killed.
Aftermath
The American retreat was in good order, repulsing a last attempt by the 71st and 23rd Regiments to pursue. The British gained little from the battle. American losses are thought to be over 400, but British losses of over 500 were quite large considering Cornwallis started the battle with 1,900 men. The Guards started the battle with 19 officers and 462 men. Of these, they lost 11 officers and 206 men. O'Hara was wounded, Webster was mortally wounded, and Tarleton and Cornwallis sustained minor wounds.
The battle was a strategic disaster for the British. Low on supplies and without a Tory rising, on March 18, 1781 Cornwallis withdrew to Wilmington on the coast, abandoning most of North Carolina. After a short pursuit halted by lack of forage, Greene advanced into South Carolina and in the course of several months pushed the British back into Charleston. Cornwallis moved north to join British forces raiding Virginia, thinking he could most harm Greene by eliminating the support that Virginia gave him. Instead, in October of the same year, he met disaster at Yorktown.